Easy Medium Hairstyles: 8 Quick Looks You Can Do in Under 10 Minutes

Medium hair does not need a complicated routine to look intentional. For the fastest start, use a claw clip, low bun, wrapped ponytail, or half up style. Most of the looks below need only a brush or comb, an elastic, pins, or a clip.
The exact time depends on your length, density, texture, layers, and how your hair starts. These instructions assume your hair is dry or already in the condition you normally style it. Loose waves may take close to ten minutes, and dense or highly textured hair can take longer. Do not compensate for limited time by pulling a style painfully tight or turning a hot tool higher than you normally need.
Choose a style based on time and hair today
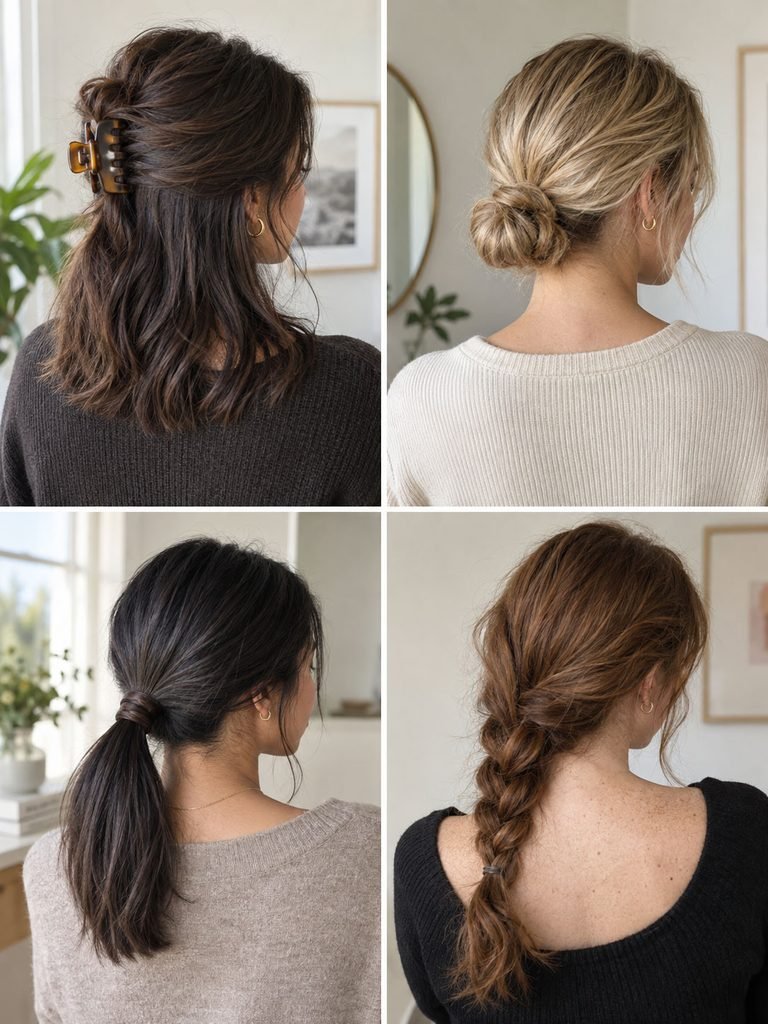
Start with the result you need, not the hairstyle name.
| Style | Plan about | Best starting point | Heat |
|---|---|---|---|
| Half up claw clip twist | 1 to 2 minutes | Dry hair, especially when the front needs control | No |
| Low bun | 3 to 5 minutes | Dry hair with enough length to gather at the nape | No |
| Wrapped low ponytail | 2 to 3 minutes | Dry, detangled hair | No |
| Full claw clip twist | 1 to 2 minutes | Dry hair that reaches a twist at the back | No |
| Half up mini bun | 3 to 4 minutes | Dry straight, wavy, or curly hair | No |
| Side twist pin back | 2 to 3 minutes | Medium hair with short layers or limited tie back length | No |
| Simple side braid | 3 to 5 minutes | Hair long enough to cross one shoulder | No |
| Loose bend waves | About 6 to 10 minutes | Fully dry hair | Yes |
These are planning ranges, not guarantees. A style that takes two minutes on straight, lightly layered hair may take longer on dense curls or a cut with many short sections.
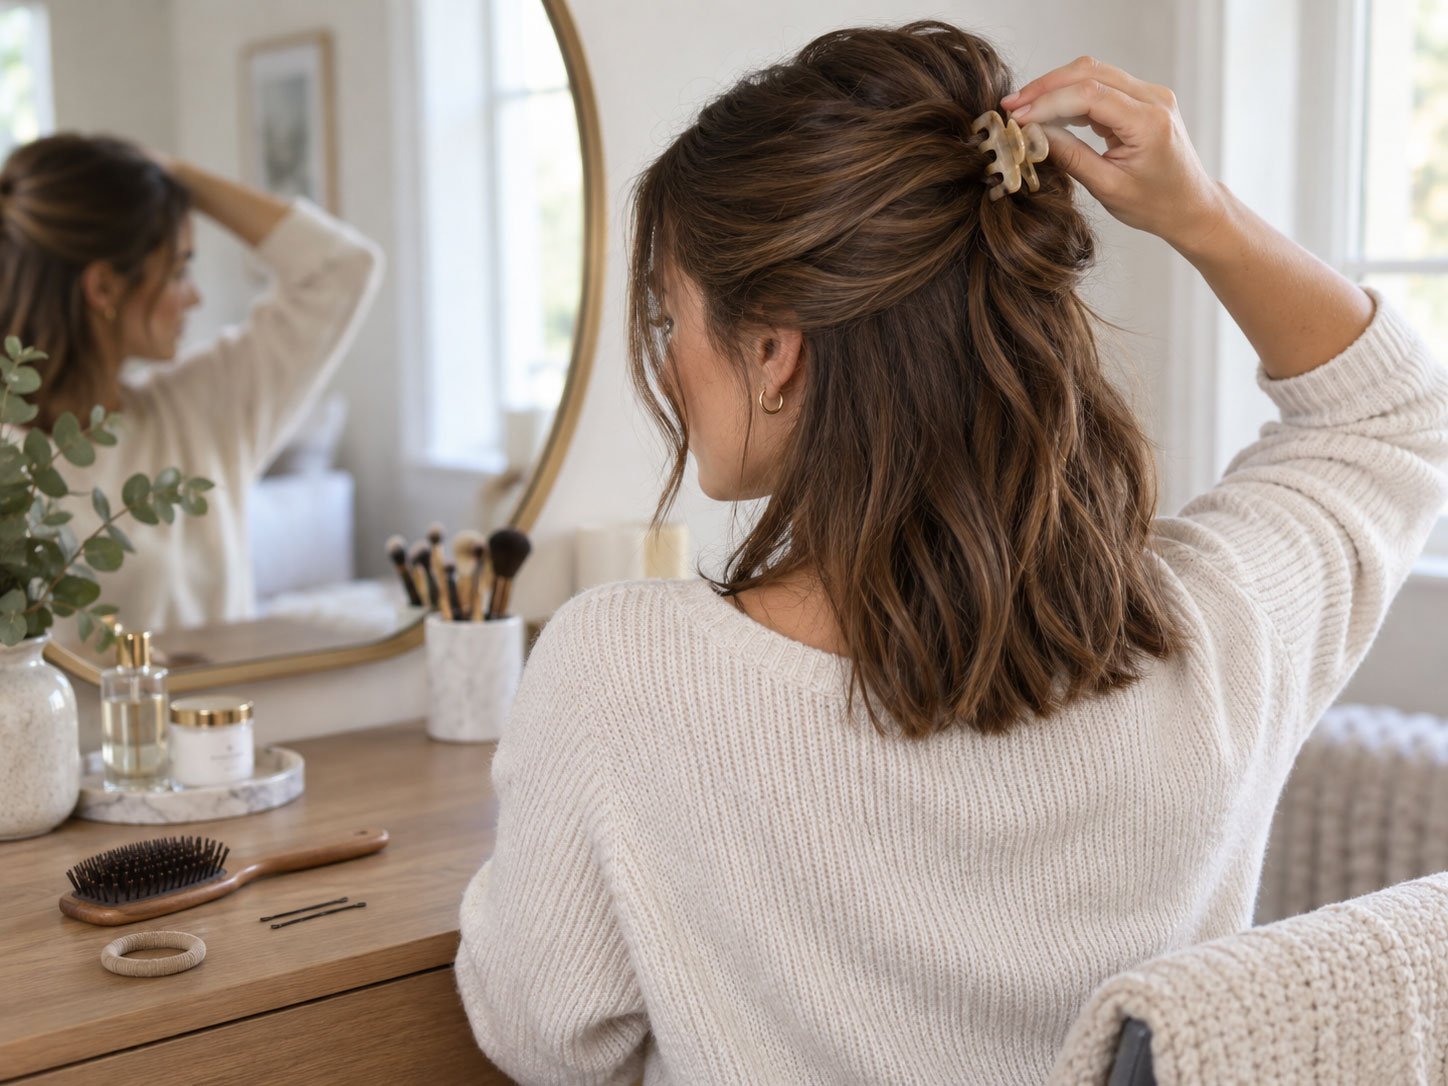
1. Half up claw clip twist
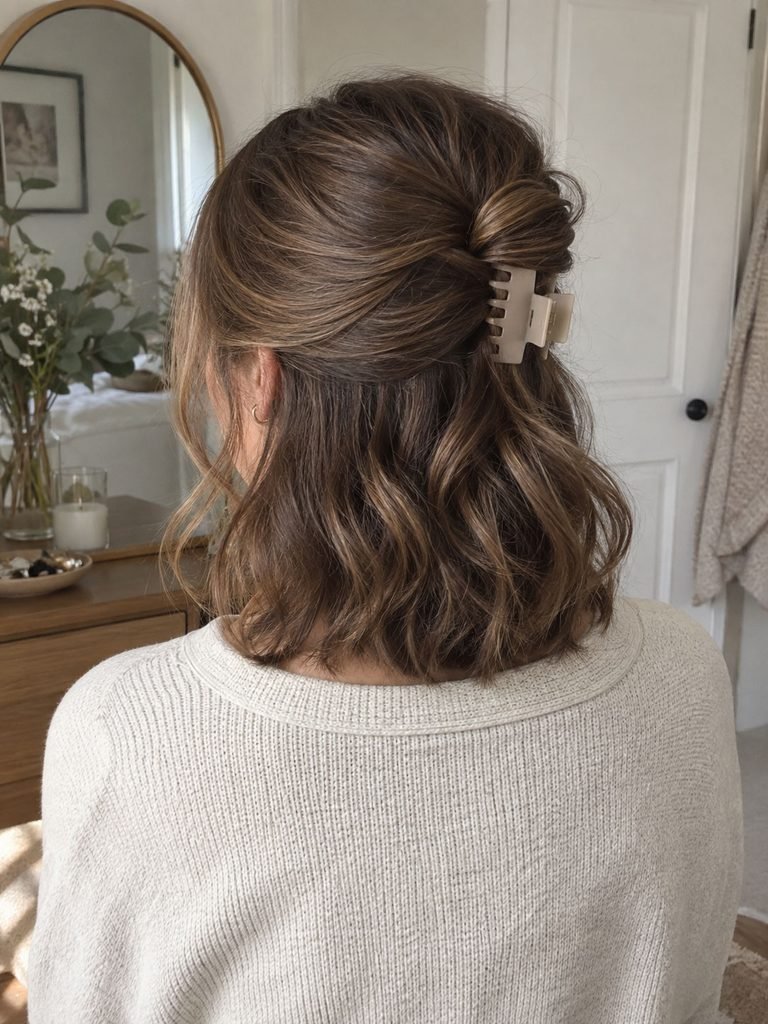
This is the fastest option when you want hair away from your face without forcing the entire length into an updo.
- Use your fingers to gather the top section from roughly temple level toward the back.
- Bring the section together just below the crown.
- Twist it once or twice.
- Secure the twist with a claw clip that can close comfortably around the section.
- If the top feels flat, loosen a small amount of hair near the crown after the clip is secure.
For fine or slippery hair, gather a slightly smaller section so the clip is not trying to hold more hair than its teeth can grip. A small amount of texture spray can add grip, but start lightly.
For dense hair, the opposite problem is common. A small decorative clip may close on only the outer strands. Use a stronger clip or reduce the amount of hair in the half up section.
2. Low bun with a soft finish
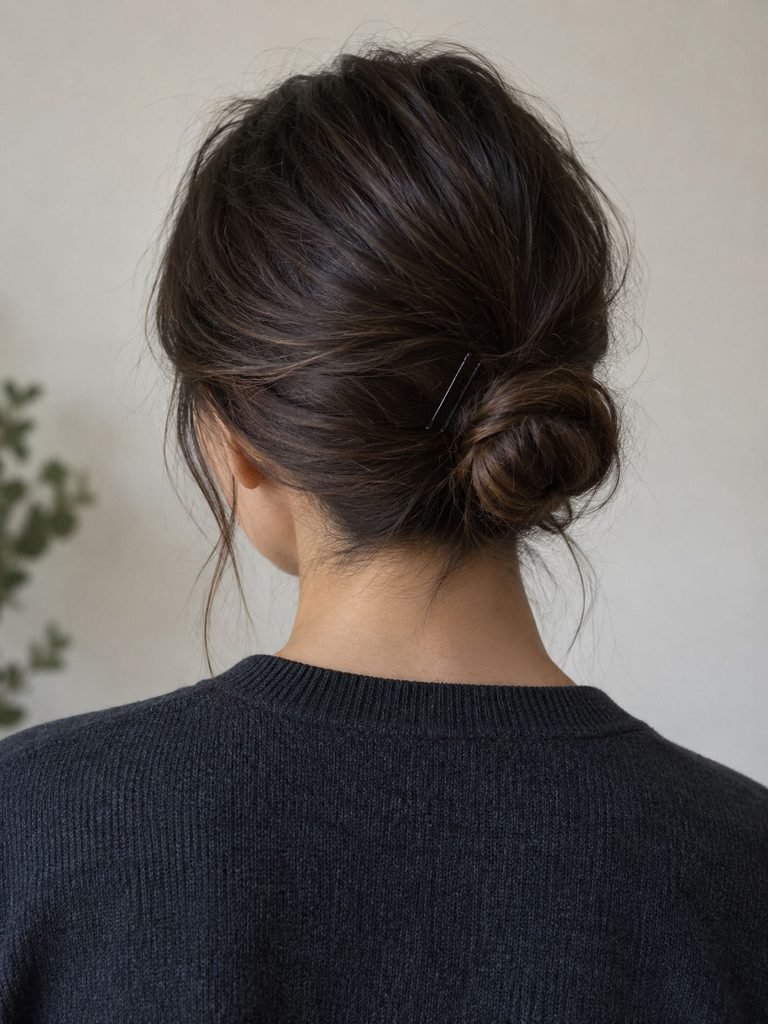
A low bun usually works better than a high bun when medium hair is only just long enough to gather. Keeping the style near the nape gives shorter ends less distance to travel.
- Gather your hair into a low ponytail.
- Secure it with a covered elastic.
- Twist the ponytail gently.
- Wrap the twist around the elastic.
- Tuck the ends underneath and pin them where they naturally reach.
- Loosen the crown slightly if the base feels tight.
If the bun keeps unraveling, stop trying to stretch every strand around the full circle. Make a smaller coil and let the shortest ends tuck underneath.
A secure bun should not require scalp pain. If the hairline feels sore or you feel constant pulling, loosen the base or move the bun lower.
3. Wrapped low ponytail
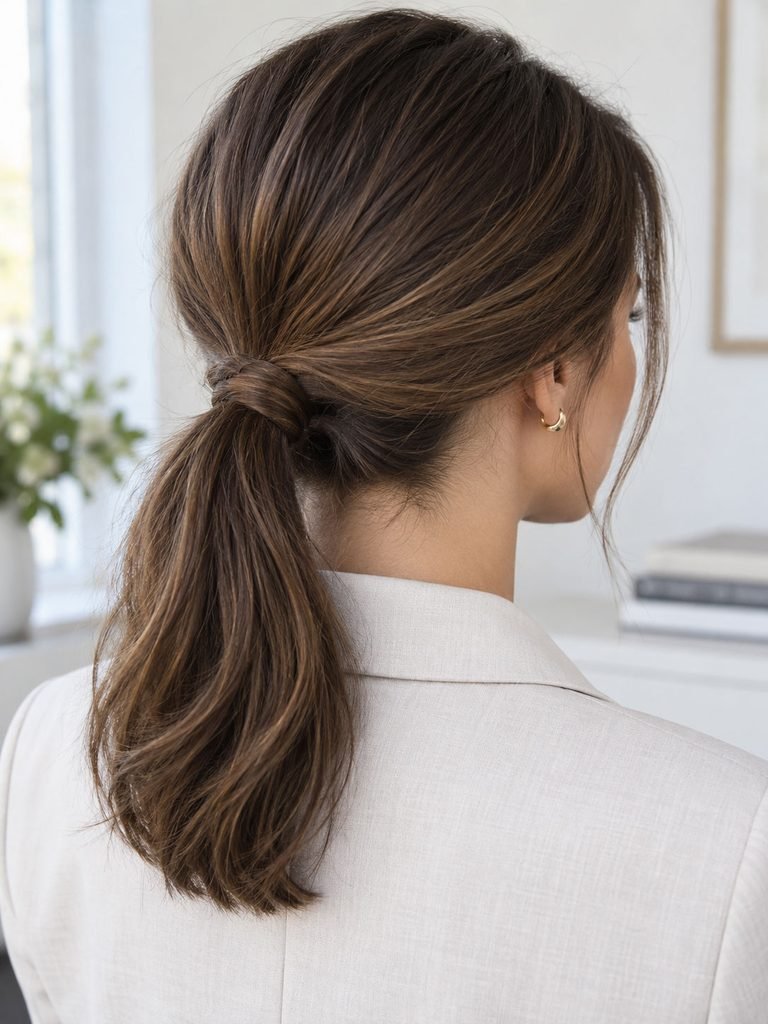
A wrapped ponytail takes almost the same effort as a basic ponytail, but hiding the elastic gives the finish more definition.
- Decide where you want your part before gathering the hair.
- Make a low ponytail at the nape.
- Take a narrow strand from the underside of the ponytail.
- Wrap it around the elastic once or twice.
- Tuck the end underneath and secure it with a small bobby pin.
If your front layers do not reach the elastic, do not keep tightening the ponytail to catch them. Leave them loose, tuck them behind your ears, or secure only the shortest pieces with a small pin.
For a softer finish, use your fingertips to loosen the hair immediately above the elastic. Do this after the ponytail is secure so you are not rebuilding the base several times.
4. Full claw clip twist
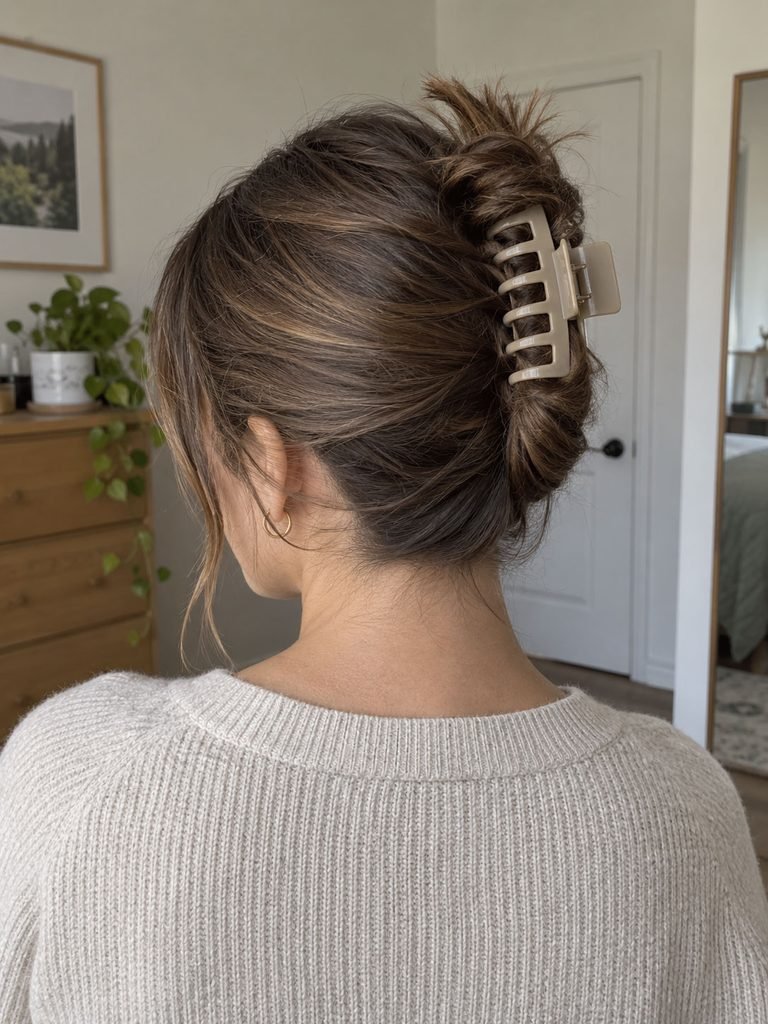
Use this when you want all of your hair up but do not have enough time to build and pin a bun.
- Gather your hair as if you were making a low ponytail.
- Twist the length upward against the back of your head.
- Fold the ends down into the twist if they extend past the top.
- Open the claw clip and position it so the teeth catch both the twist and some hair close to the scalp.
- Close the clip and gently test the hold before you leave it alone.
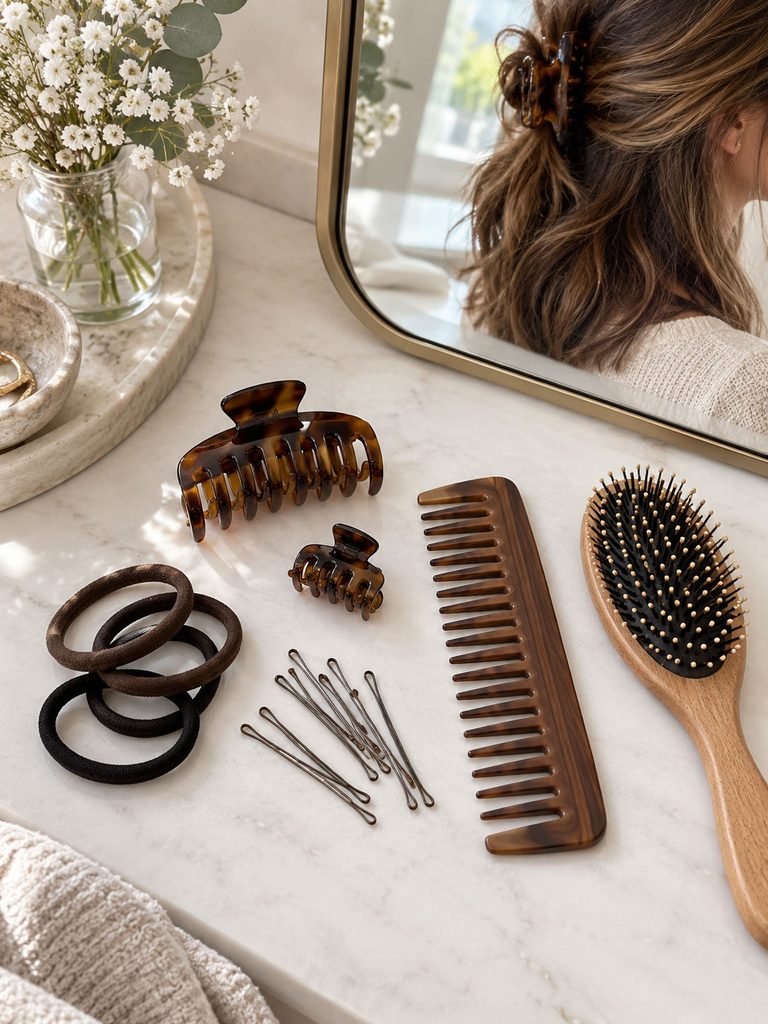
Clip size should follow how much hair the clip must hold. Very thick medium hair may need a wide, strong clip. Fine hair often holds better in a smaller clip that can close more completely.
If the twist slides downward, the clip may be grabbing only the outer surface. Reposition it so its teeth reach deeper into the twist rather than squeezing harder.
5. Half up mini bun
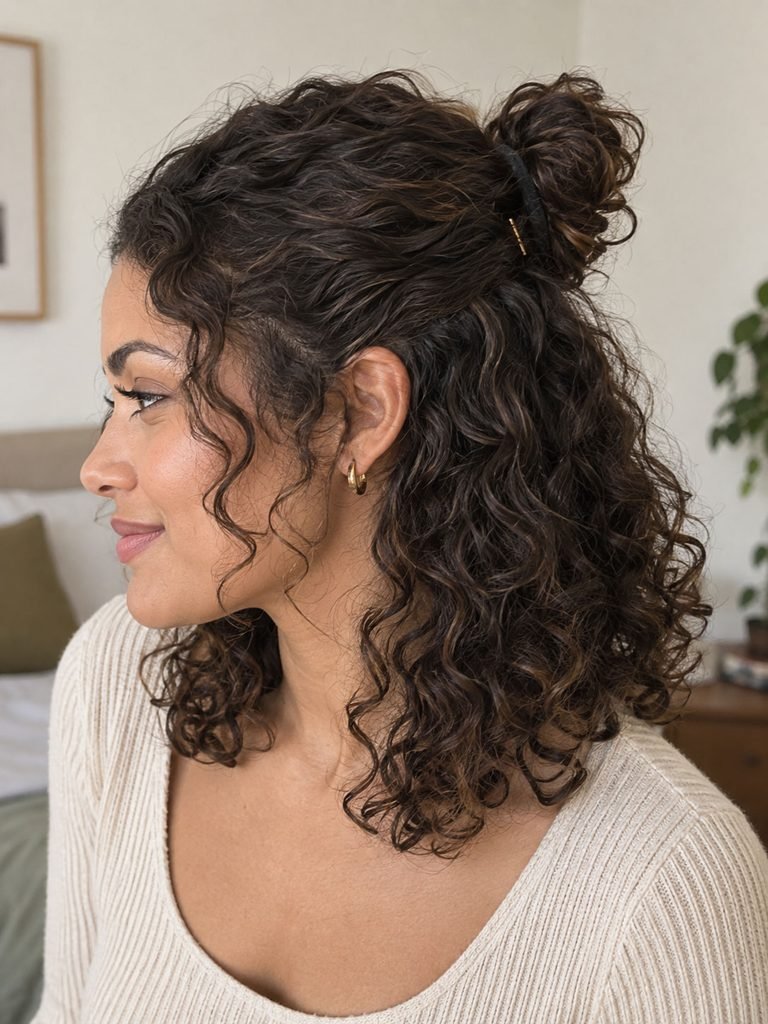
A mini bun gives you more control than a basic half up ponytail without requiring enough length for a full bun.
- Separate the top portion of your hair.
- Secure it loosely into a small ponytail.
- Twist that ponytail once or twice.
- Wrap it into a compact bun.
- Tuck the end underneath and pin it, or use a second small elastic.
Do not take half of your total hair simply because the style is called half up. Dense hair may look more balanced when you gather only the top quarter or third.
On curly or wavy hair, keep the lower section in its natural pattern. You only need to manipulate the part you are securing.
6. Side twist pin back
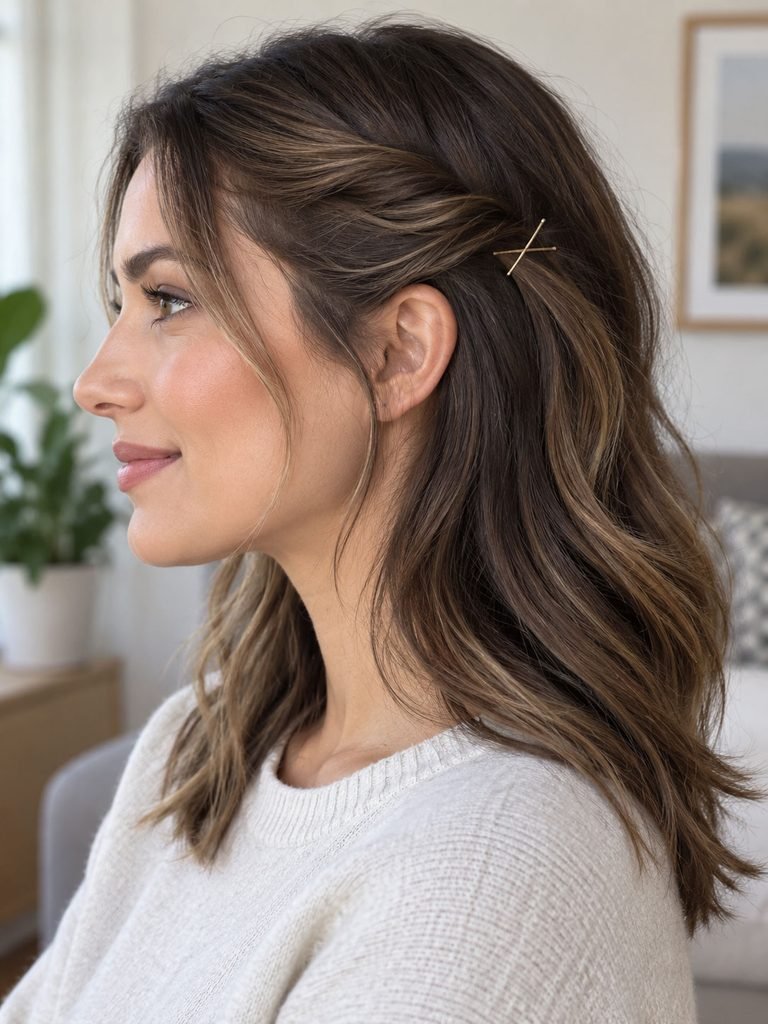
This is useful when your hair is too short, too layered, or too freshly cut to cooperate with a complete updo.
- Make your normal part.
- Take a section near one temple.
- Twist it gently toward the back of your head.
- Stop where the shortest pieces still feel secure.
- Pin across the direction of the twist so the pin resists the section moving forward.
- Add a second pin if the first cannot hold the section by itself.
You can repeat the twist on the opposite side, but one side is enough when the goal is simply to keep hair away from your eyes.
This style also avoids the common mistake of pulling short face framing sections harder and harder toward an elastic they cannot realistically reach.
7. Simple side braid
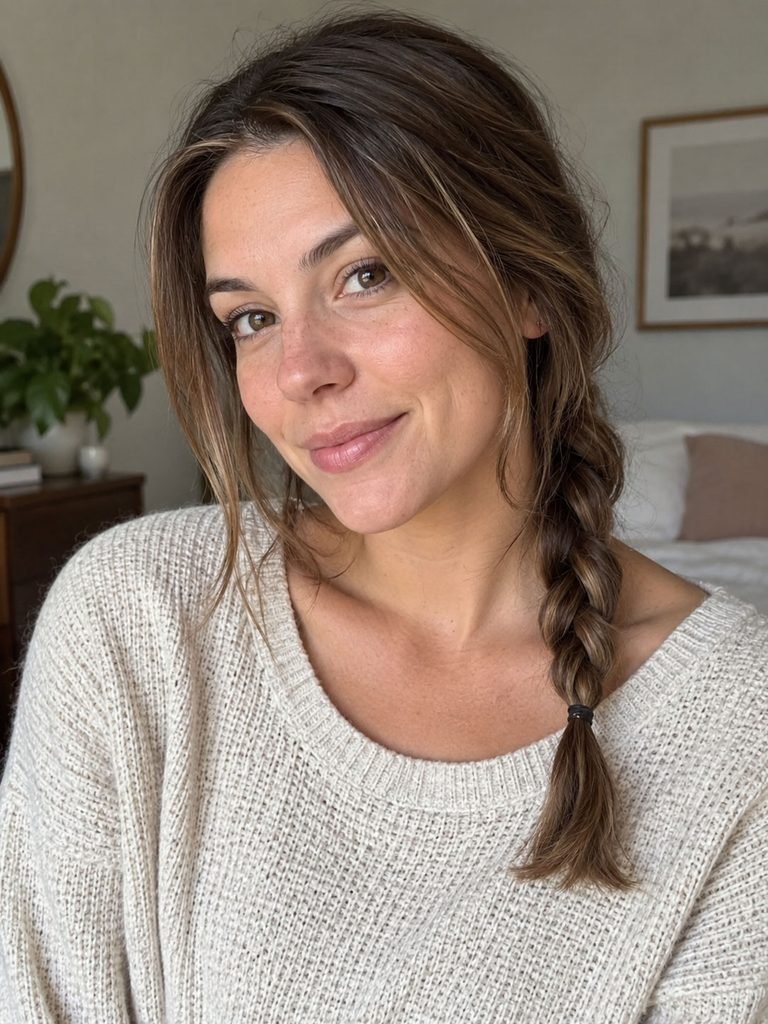
A side braid works best when your hair reaches far enough over one shoulder to cross the sections several times.
- Bring all of the hair over one shoulder.
- Divide it into three sections.
- Cross the outside right section over the center.
- Cross the outside left section over the new center.
- Continue until you are close to the shortest secure length.
- Add a small elastic.
Stop before you run out of usable length. Medium hair often produces a shorter braid than reference photos made on long hair, and that is normal.
Short face framing pieces may continue to fall around your cheeks. If that happens every time you braid or tie your hair, it may be a feature of your haircut rather than a failed technique. Femorias explains how the starting point and amount of hair in the front layers affect tie back flexibility in its guide to medium hairstyles with face framing layers. Femorias guide to medium hairstyles with face framing layers
8. Loose bend waves
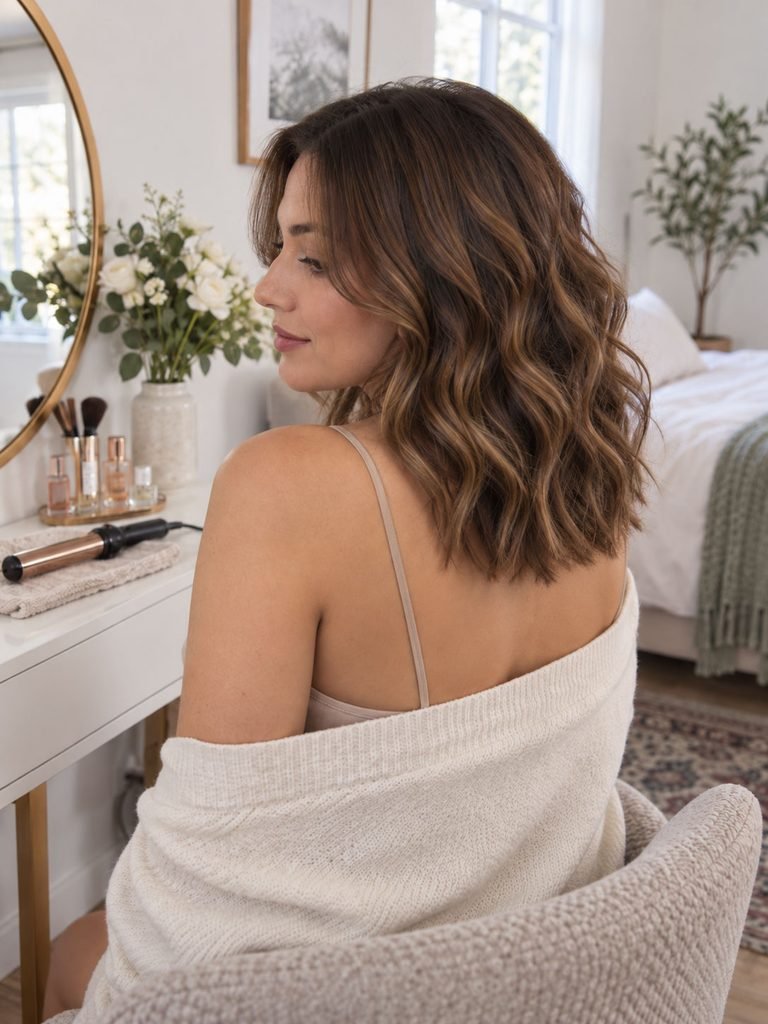
Loose bends are the one style here that may use most of the ten minute window. Start with completely dry hair. If your hair is dense, very curly, coily, or close to the longer end of medium length, give yourself more time rather than trying to rush the process.
- Divide dry hair into a few manageable sections.
- Work through one section at a time.
- Create a loose bend through the middle of the hair rather than curling every inch.
- Leave the ends slightly straighter if you want a softer finish.
- Let each section cool before breaking the bends apart with your fingers.
The American Academy of Dermatology recommends using flat irons on dry hair at low or medium heat and limiting excessive heat exposure. Its guidance also advises keeping curling iron contact brief. AAD guidance on hair styling without damage
If one section needs repeated passes to match the others, do not keep reheating it simply to meet a time target. A slightly less uniform finish is preferable to escalating heat for the sake of speed.
Make the style fit your texture, layers, and morning
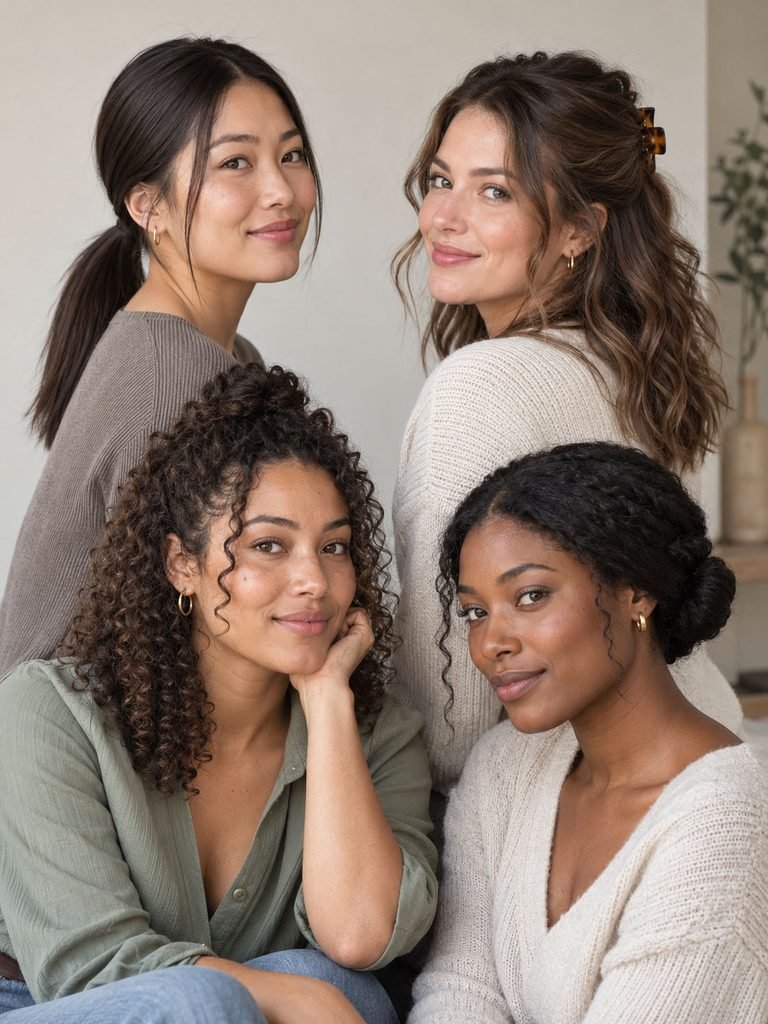
A hairstyle is easier when it cooperates with what your hair is already doing.
Straight or very smooth hair: Clips can slide when they are too large for the amount of hair inside them. Use a clip that closes securely and gather a smaller section before adding more product.
Wavy or curly hair: You do not need to smooth the entire head before making a bun, clip, or half up style. Preserve the texture outside the section you are securing.
Fine hair: Do not assume more teasing or more product will automatically make a style fuller. Too much product can separate the strands and make the hair look flatter. Start with the smallest amount that solves the problem.
Dense hair: A clip that looks large may still lack enough depth or spring strength to grip the twist. Reduce the section or choose a stronger clip rather than forcing it shut.
Short layers and fringe: Let pieces stay out when they cannot comfortably reach the base. Pins, a side twist, or a half up style are often more realistic than trying to pull every strand into a low ponytail.
If tying your hair back is something you need several days a week, the haircut itself can make a significant difference. Femorias’s medium haircut guide explains why practical tie back length and the position of face framing sections deserve attention before the cut. Femorias guide to choosing a medium haircut
Comfort matters too. The American Academy of Dermatology advises against repeatedly wearing hairstyles that pull tightly, and its traction alopecia guidance states that a hairstyle that feels painful is too tight. Loosen the base, lower the style, or switch to a clip when an elastic is creating uncomfortable tension. AAD guidance on hairstyles that pull
Dry shampoo can help absorb oil when the roots look greasy, but it does not actually clean the hair or scalp. The AAD recommends continuing to wash with regular shampoo and water rather than treating dry shampoo as a replacement. AAD dry shampoo guidance
Quick questions about easy medium hairstyles
What counts as medium length hair?
There is no universal cutoff. In everyday haircut language, medium hair usually sits around the shoulders and collarbone and may extend somewhat below them. What matters more for these tutorials is whether the hair can reach the point where you need to clip, pin, or tie it.
Which hairstyle is the fastest for medium hair?
A half up claw clip twist or full claw clip twist is usually the shortest sequence because neither requires precise sectioning, braiding, or several pins. The actual speed depends on how readily your hair fits the clip.
Can I do these styles without heat?
Yes. Seven of the eight styles above use no hot tool. The loose bend waves are the only heat styled option.
What if my medium hair is too short for a bun?
Use a half up clip, side twist, or low ponytail instead. You can also make a smaller low bun and pin the shortest ends underneath rather than trying to build a large round shape.
Why does my claw clip keep sliding?
The clip may be too large for the section, too small for your full thickness, or gripping only the outer part of the twist. Change the amount of hair first. Then change the clip if necessary.
Is dry shampoo enough for second day or third day hair?
It can absorb visible oil and make the roots look fresher, but it is not a substitute for washing with shampoo and water. Follow the product directions and continue your normal cleansing routine.
The easiest way to make quick styling genuinely quick is to stop choosing from eight options every morning. Pick three defaults: one half up style, one style that gets all of your hair off your face, and one option for days when you want to wear the length down. Keep the clips, elastics, and pins for those three styles together. Once the decision is automatic, the styling part becomes much shorter.