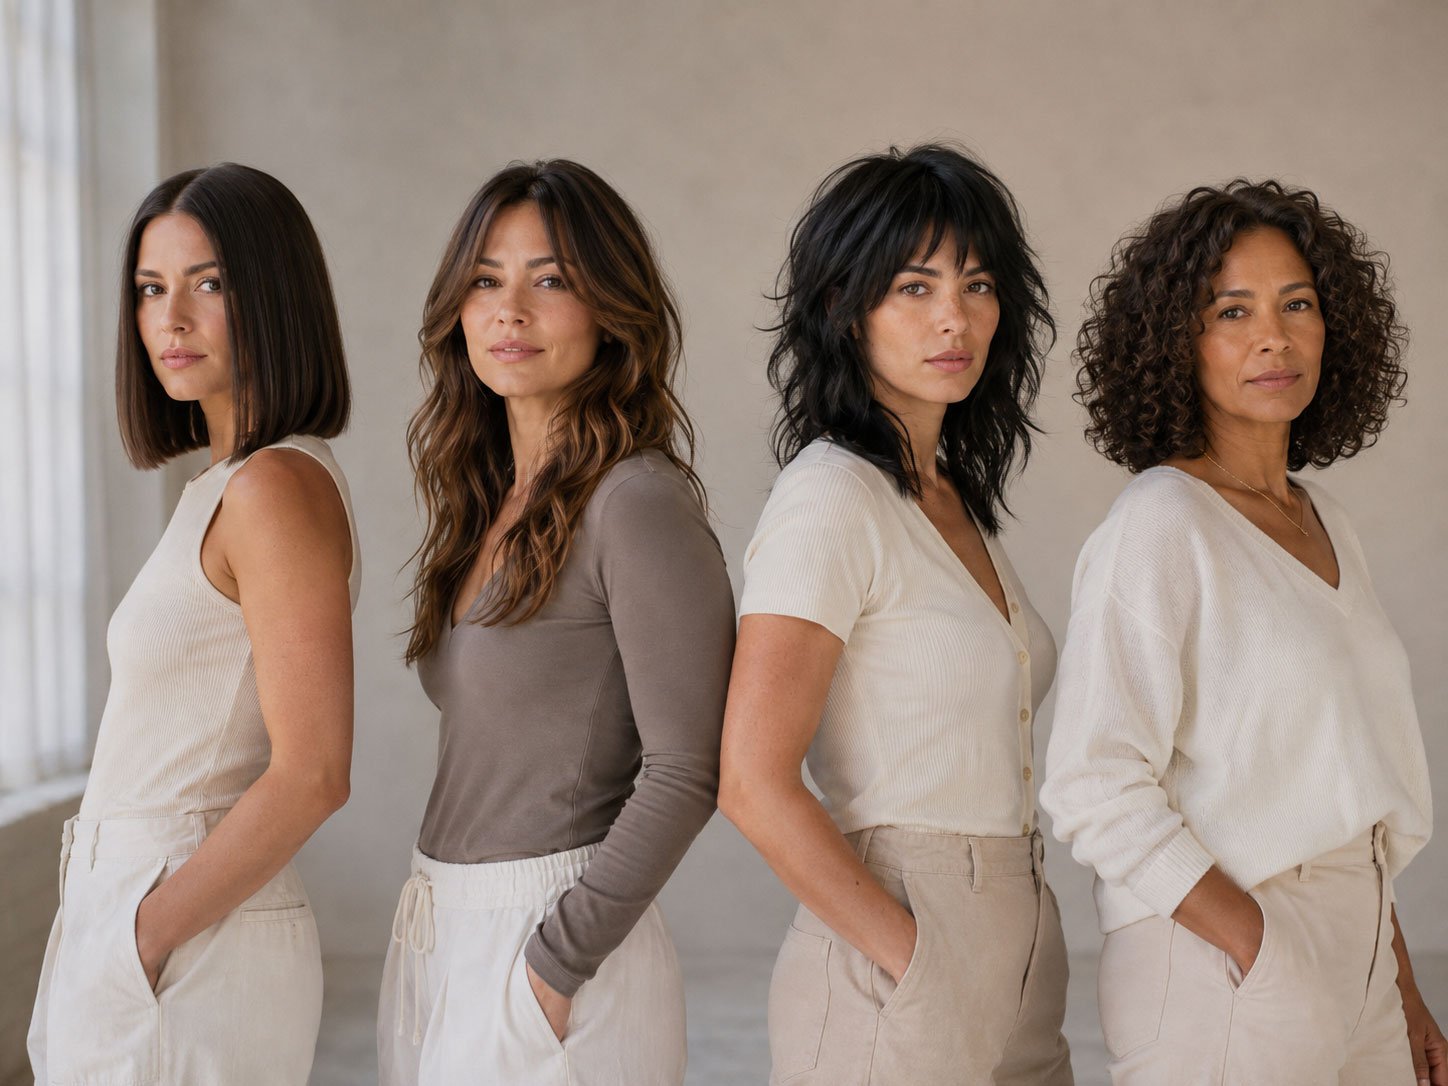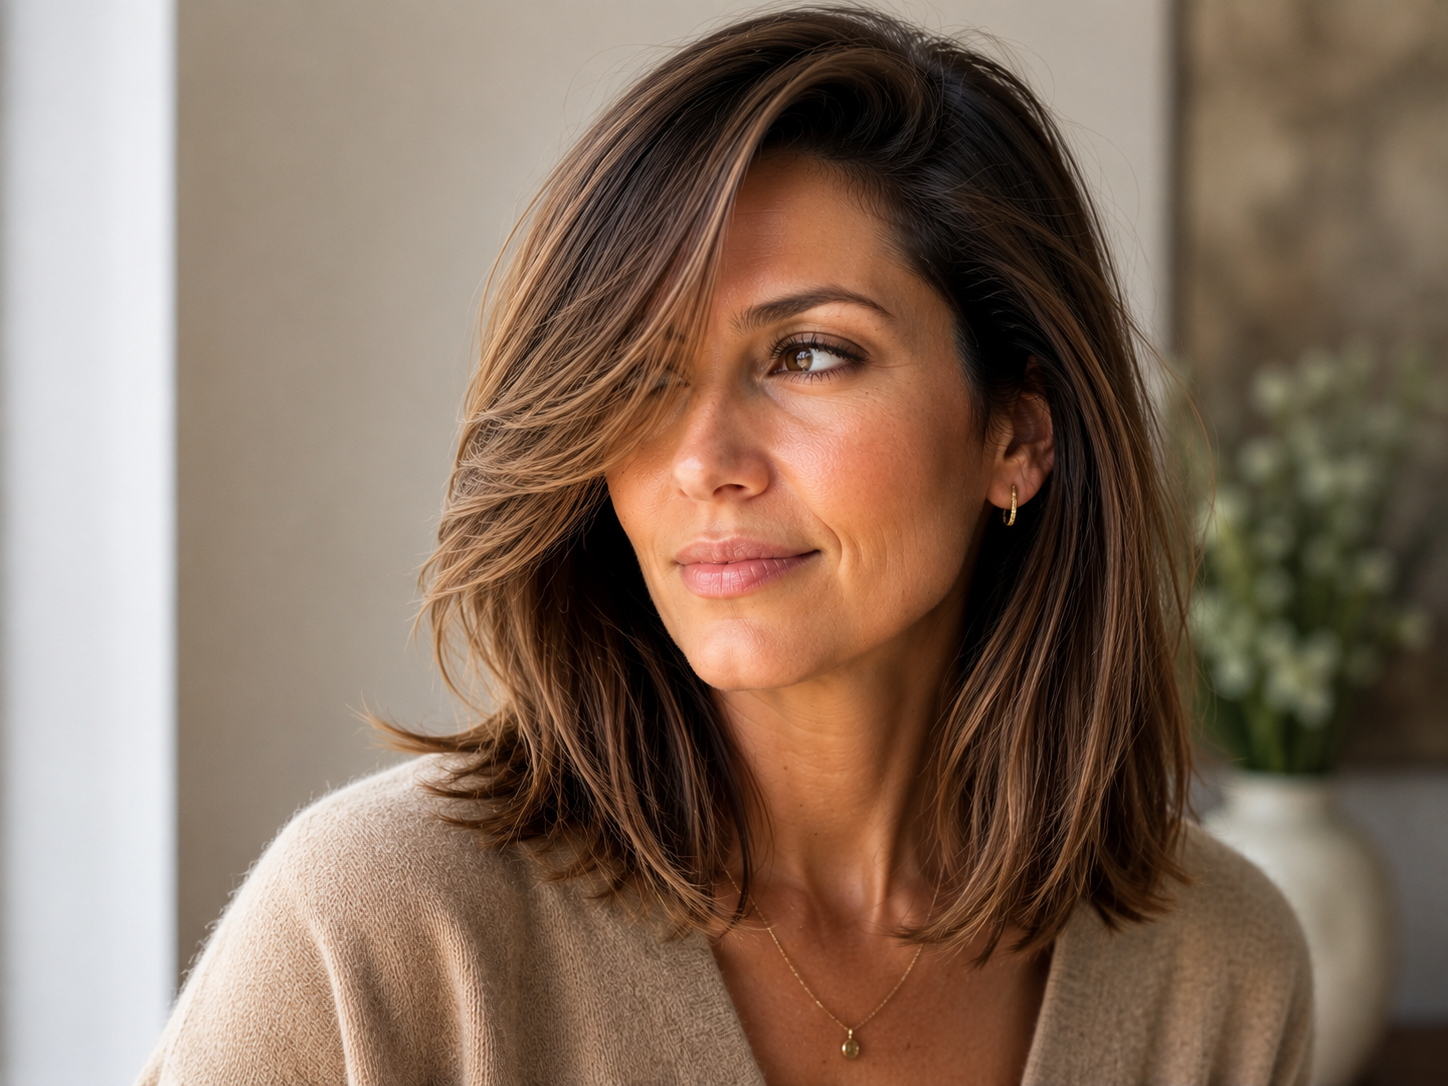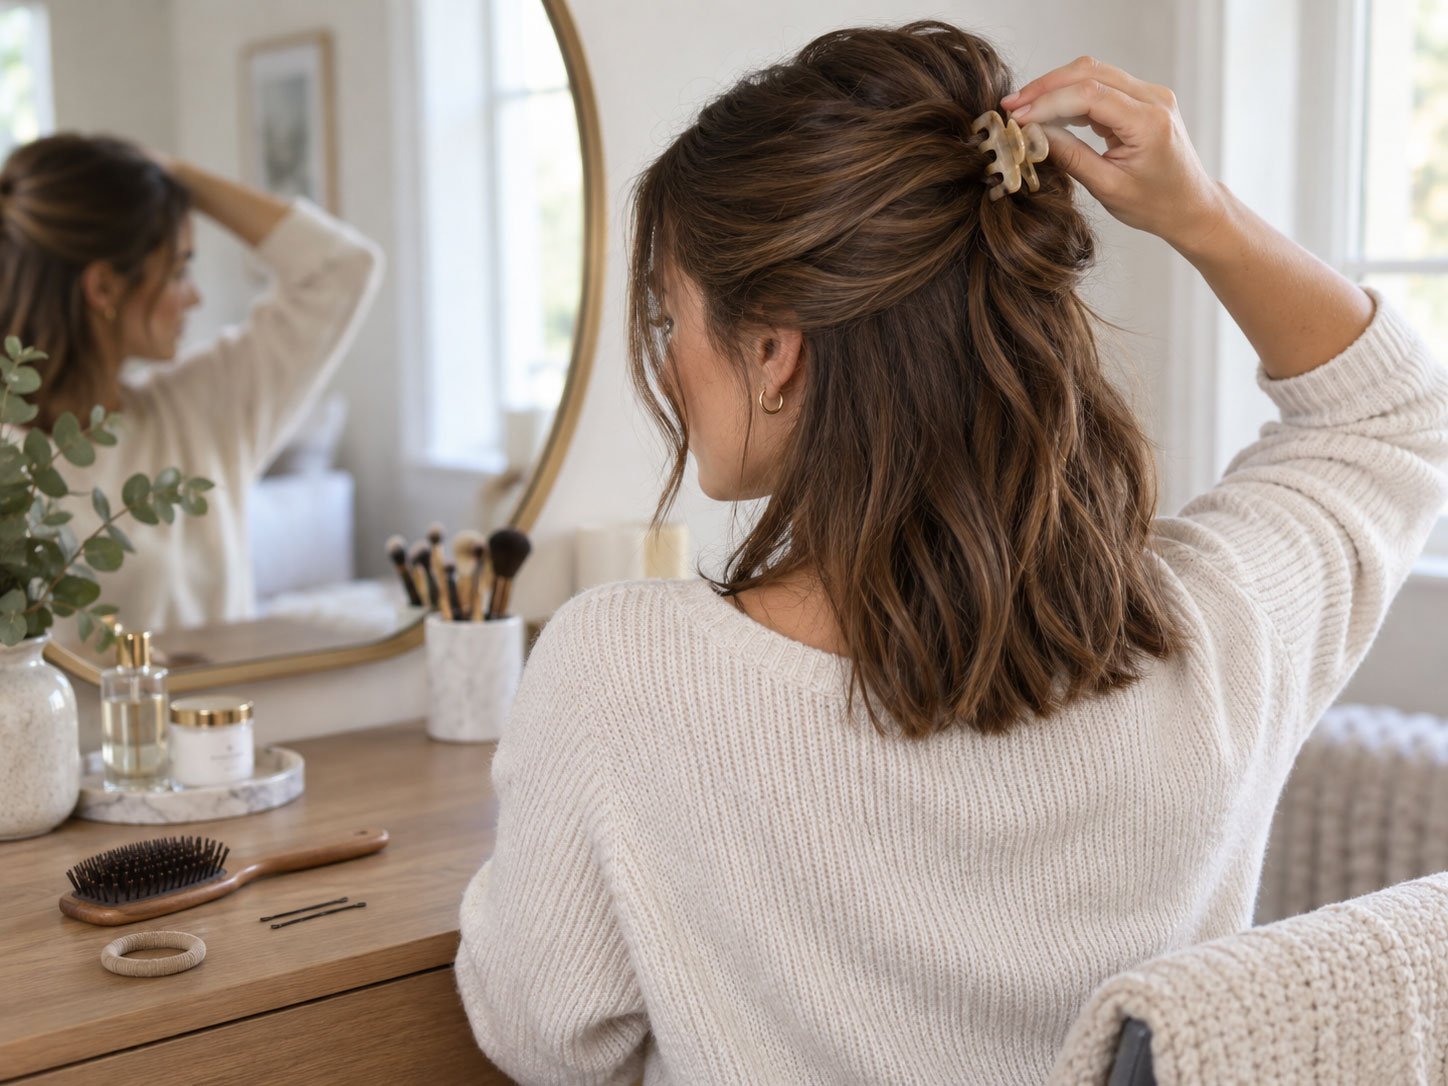

Medium Hairstyles With Face Framing Layers: 10 Cuts and How to Choose Yours

The biggest decision with face framing layers is not whether they are “flattering.” It is where the shortest piece will finish when your hair is dry, plus how much hair you are willing to make shorter around the front.
Cheekbone length pieces create a stronger change. A start near the jaw or chin is easier to blend into medium hair. A collarbone start is subtler and usually preserves more tie back length. The size of the front section matters too. A narrow face frame changes less of your perimeter than a broad section extending farther toward the sides.
That distinction makes it much easier to choose among the ten styles below.
Start with the shortest front piece, not the trend name
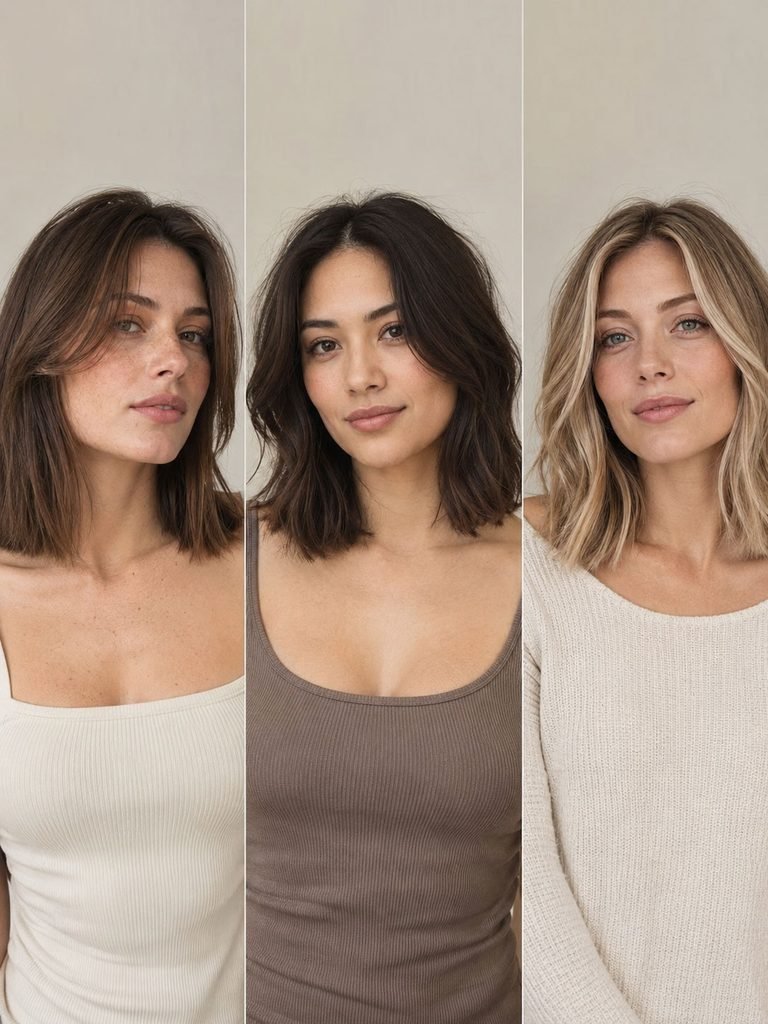
Use the front length as your first filter.
| Shortest front piece | Visual change | Practical tradeoff |
|---|---|---|
| Around the cheekbone | Strong | More visible framing and more pieces likely to escape a ponytail |
| Around the jaw or chin | Moderate | Noticeable shape with more growing room and easier blending |
| Near the collarbone | Subtle | Less dramatic framing, but easier tie back and a more conservative grow out |
The second variable is the width of the section. Professional haircut educator Andrew Carruthers advises defining where the face framing section ends so it does not extend farther into the perimeter than intended. His consultation guidance also emphasizes accounting for hair texture and density. Modern Salon’s professional face framing guidance
If you are still deciding whether you want only front framing or layers throughout the haircut, Femorias’ comparison of face framing, long, ghost, and butterfly layers separates those structures before you commit.
10 medium hairstyles with face framing layers
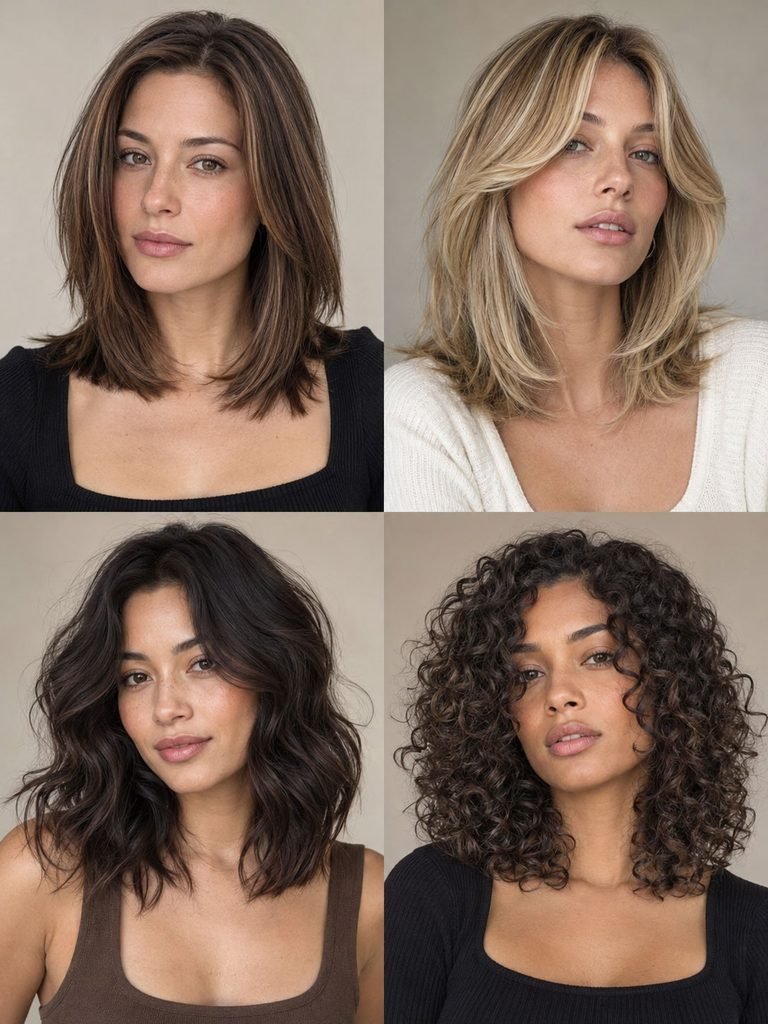
The best reference photo is the one that matches more than your preferred length. Look for similar density, natural texture, parting, and styling effort. A polished blowout can make the same underlying haircut look much more dramatic than it does after an ordinary air dry.
1. Collarbone cut with long, soft front pieces
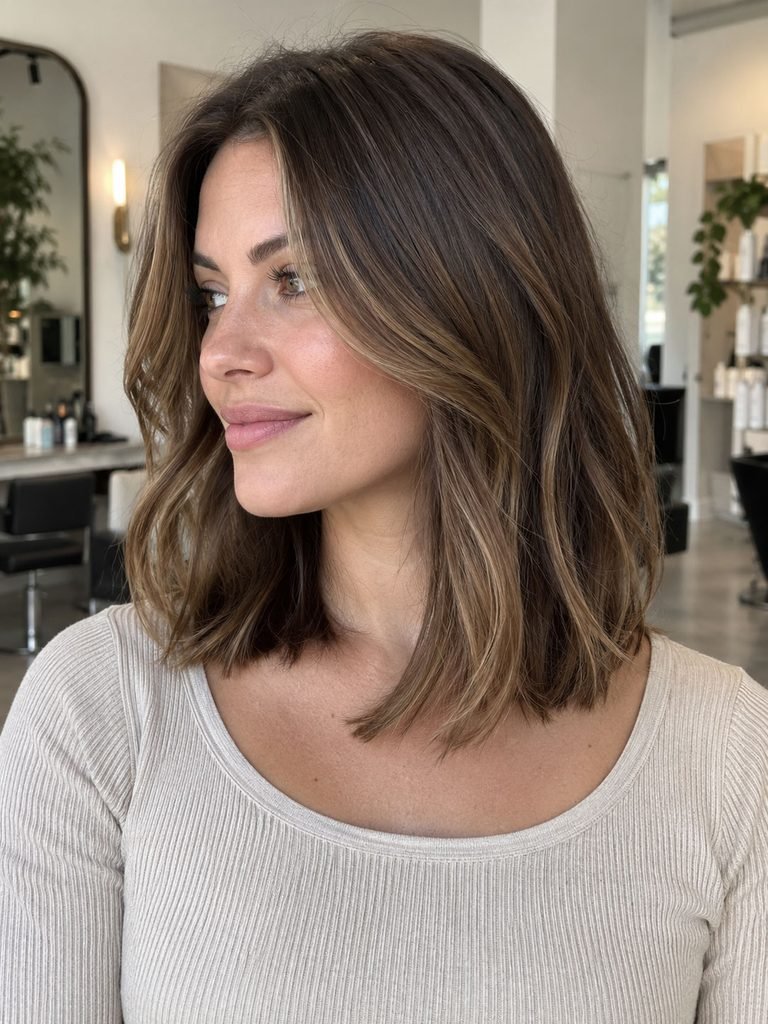
This is the conservative version. Keep the back relatively full and let the front pieces begin below the chin before blending gradually toward the collarbone.
It works well when you want movement near your face without making the whole haircut visibly layered. The longer front length also gives you a better chance of getting those pieces into a ponytail or clip.
Ask for a long face frame while protecting the lower perimeter.
2. Curtain layers that open around the cheekbones
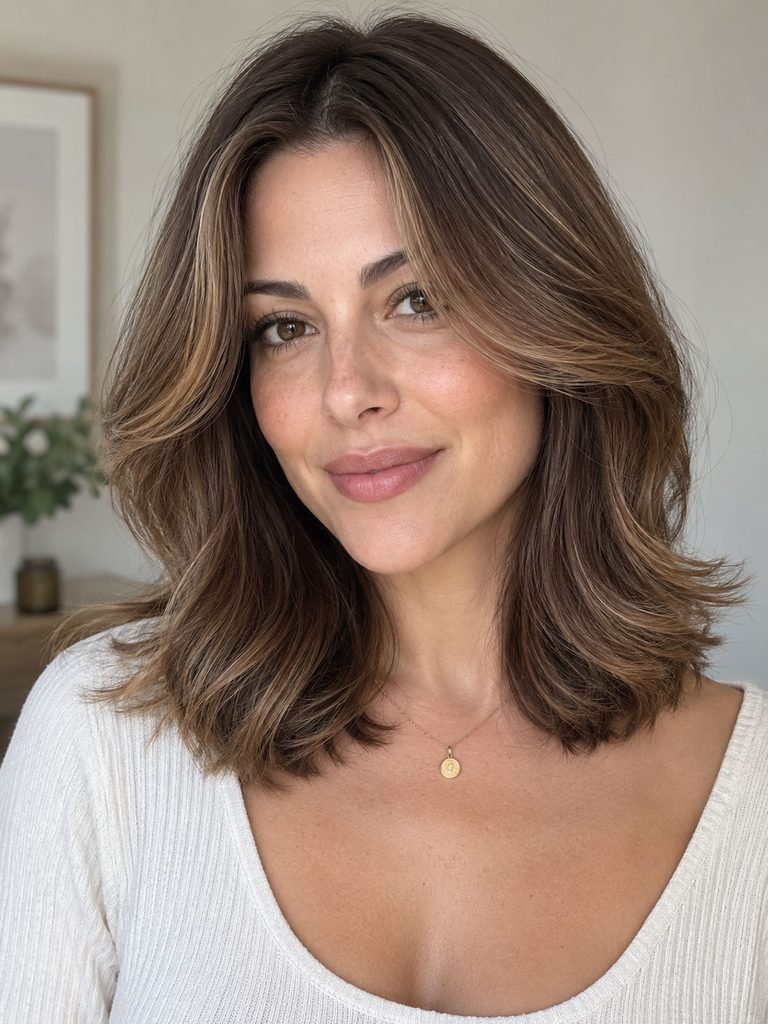
Cheekbone length curtain layers make the front of a medium cut much more noticeable. They work especially well when you like a center part and want the front to sweep outward.
The tradeoff is commitment. These pieces may fall forward when you tie your hair back, and the curved reference photo usually requires some directional drying or styling.
If you dislike hair around your eyes or constantly tuck your front sections behind your ears, keep the shortest point lower.
3. Rounded lob with chin length framing
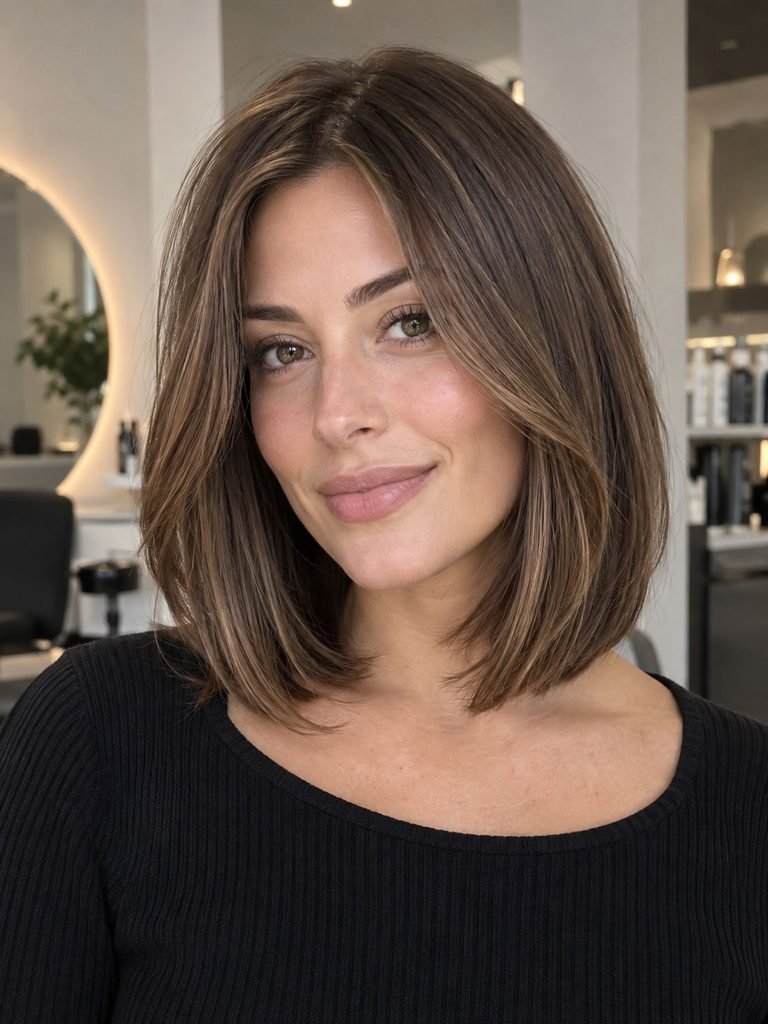
A rounded lob keeps a visible lower outline while using the front pieces to break up the shape. Chin length framing gives more definition than a collarbone start without turning the cut into a full shag.
This is useful if you like clean, polished hair but find a completely blunt front too severe for your taste.
Keep the ends substantial if the strong lower outline is part of what you like about the lob.
4. Fine or lower density hair with a narrow face frame
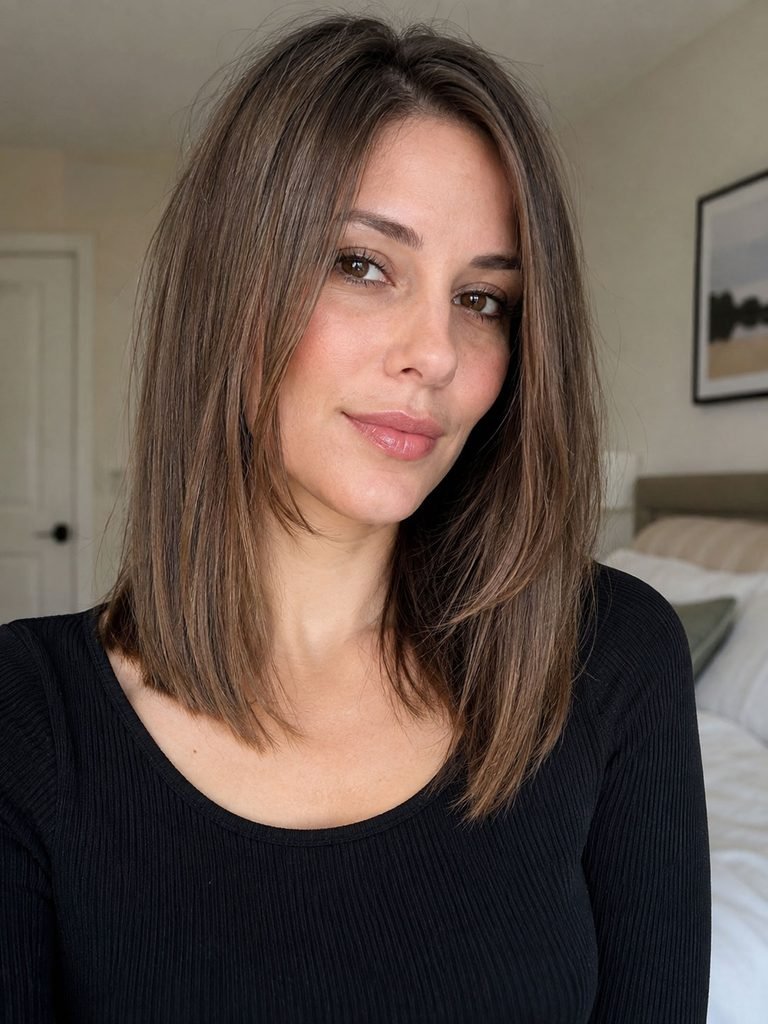
Fine strands do not automatically mean low density, and low density does not automatically mean the same haircut as fine but abundant hair. What matters visually is how much fullness your perimeter can afford to lose.
If the bottom already looks light, use a narrow front section and keep most of the back and sides intact. You can still create a visible change around the face without distributing the ends across many different lengths.
The goal is not “more layers for volume.” It is enough movement to change the shape without sacrificing the lower edge you want to keep.
5. Thick hair with internal movement and a long face frame
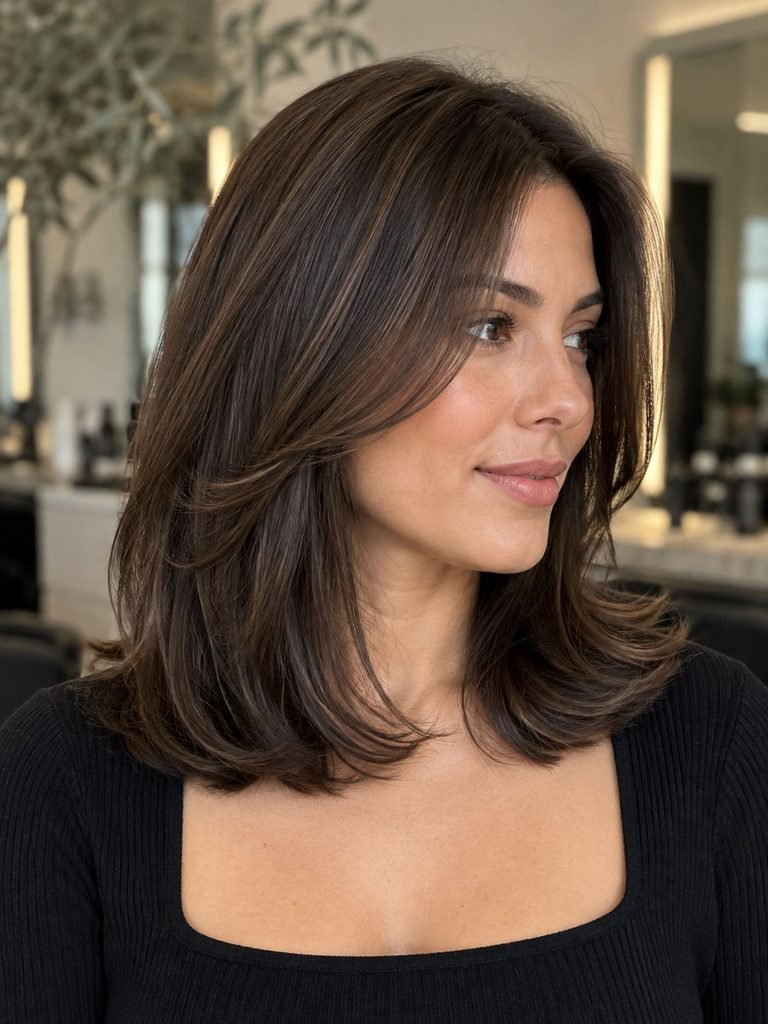
Dense hair gives a stylist more material to redistribute, but that does not mean every adjustment needs to become a visible exterior layer.
Internal movement can reduce heaviness while longer jaw or chin framing changes the front. The outer silhouette can remain relatively smooth.
If you like the look of thick hair but dislike a triangular or bulky shape, ask how much weight can be adjusted inside the haircut before adding more obvious short layers.
6. Soft shag for naturally wavy medium hair
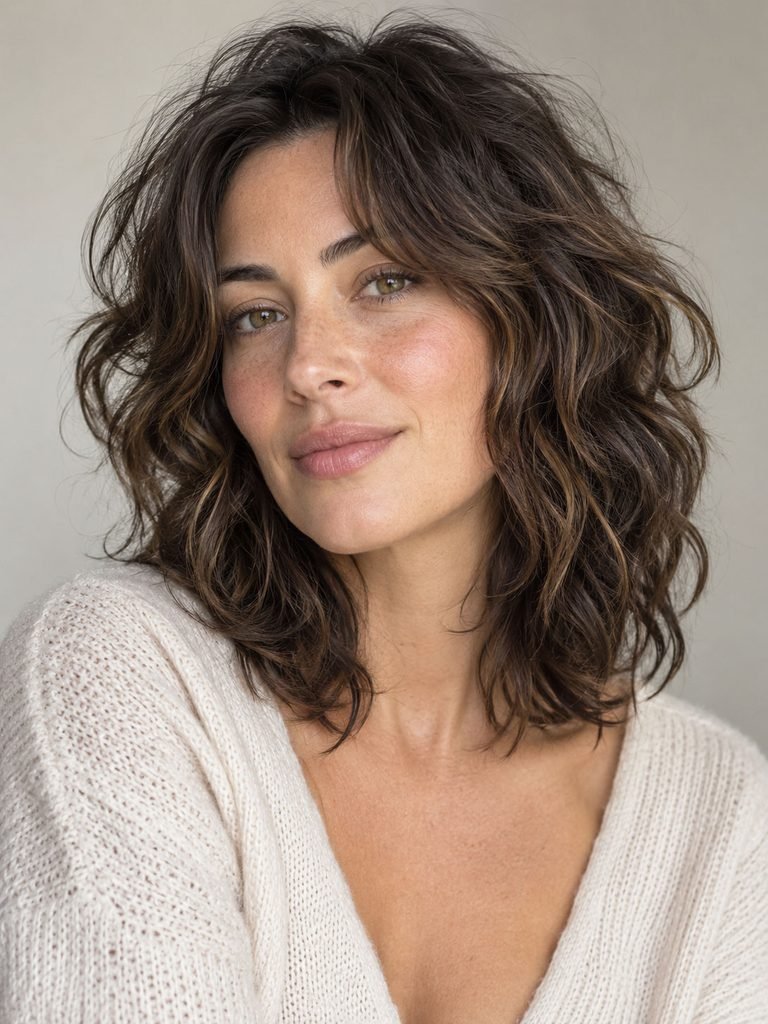
A soft shag works when you want the face framing to connect with movement through the rest of the haircut. It is a larger structural change than adding two or three front pieces to an otherwise solid cut.
Natural waves can make transitions between lengths look softer, which is useful if you prefer visible texture without sharply defined tiers.
Ask how high the shortest layers will begin through the crown as well as around your face. Those are separate decisions.
7. Curly medium hair shaped around its dry result
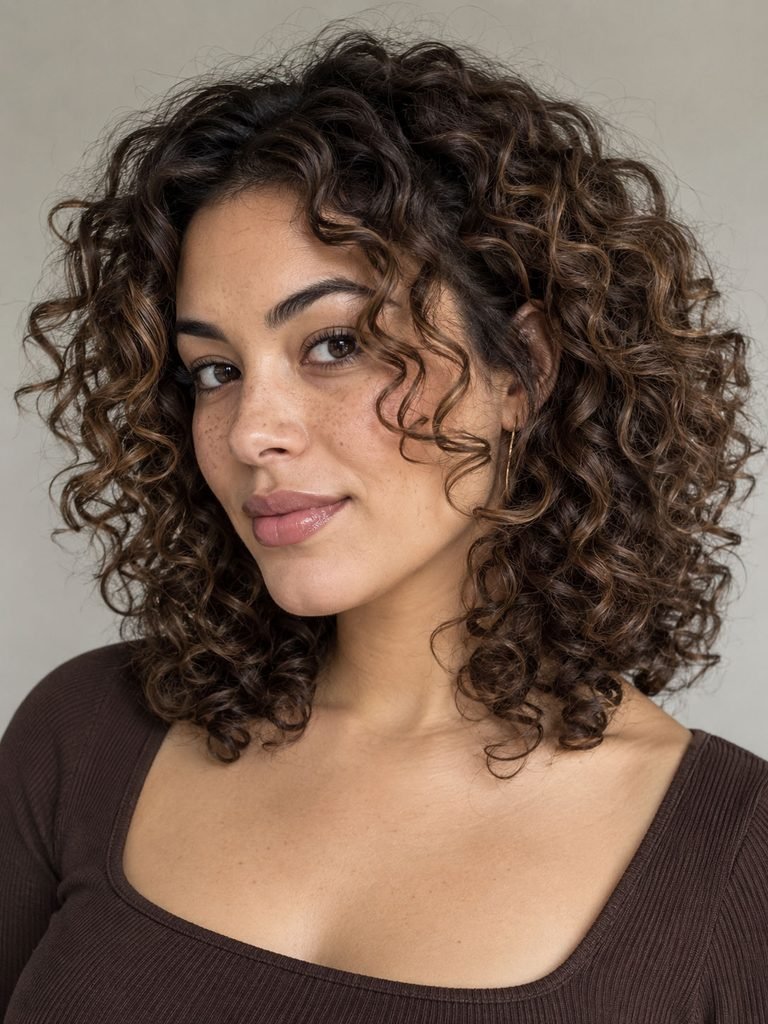
For curly hair, the useful measurement is where the shortest front curl sits when your hair is dry and worn normally. The same section can occupy a different position when wet, stretched, or blown out.
Bring a reference with a reasonably similar curl pattern, but also physically show your stylist where you want the finished front section to sit.
Do not make the consultation only about whether the haircut should be performed wet or dry. The finished shape, shrinkage, density, and normal styling method are the decisions that matter to you.
8. Deep side part with a long sweeping frame
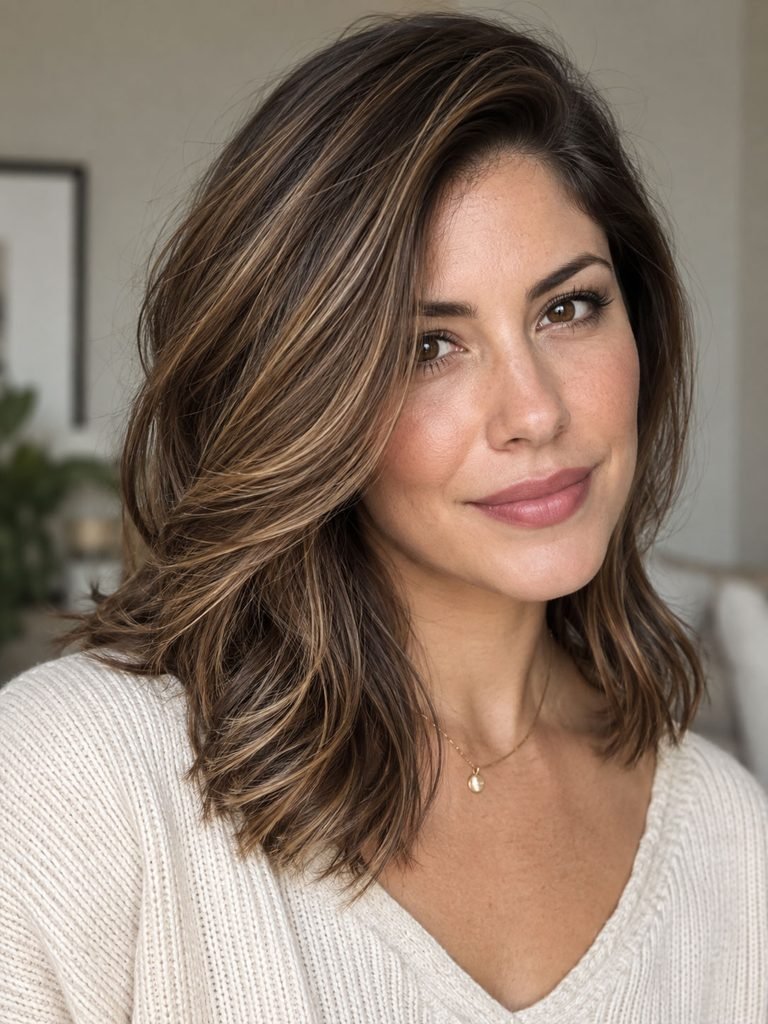
A side part changes where the front section falls before you remove additional length. That makes it worth settling your normal part before the cut.
A long sweeping layer can create movement across the forehead without committing to a true fringe. It can also be tucked away more easily than a shorter curtain section.
If you regularly switch between center and side parts, tell your stylist before the front is shaped.
9. Sleek medium hair with minimal framing
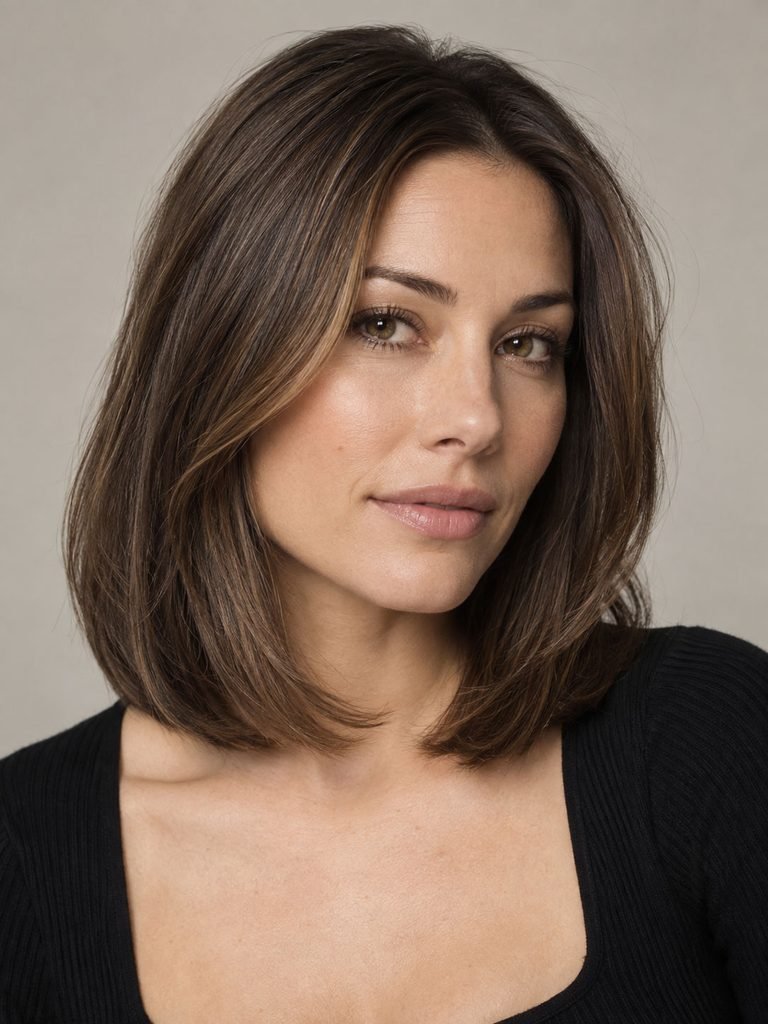
You do not need visible layers through the whole head to use face framing.
A mostly one length medium cut with restrained jaw length front pieces keeps the outline strong while giving the front more movement. It is one of the cleaner choices if you prefer polished hair or rely heavily on ponytails and low buns.
The main question is how many front strands you are comfortable leaving outside an updo.
10. Long grown out framing for easier maintenance
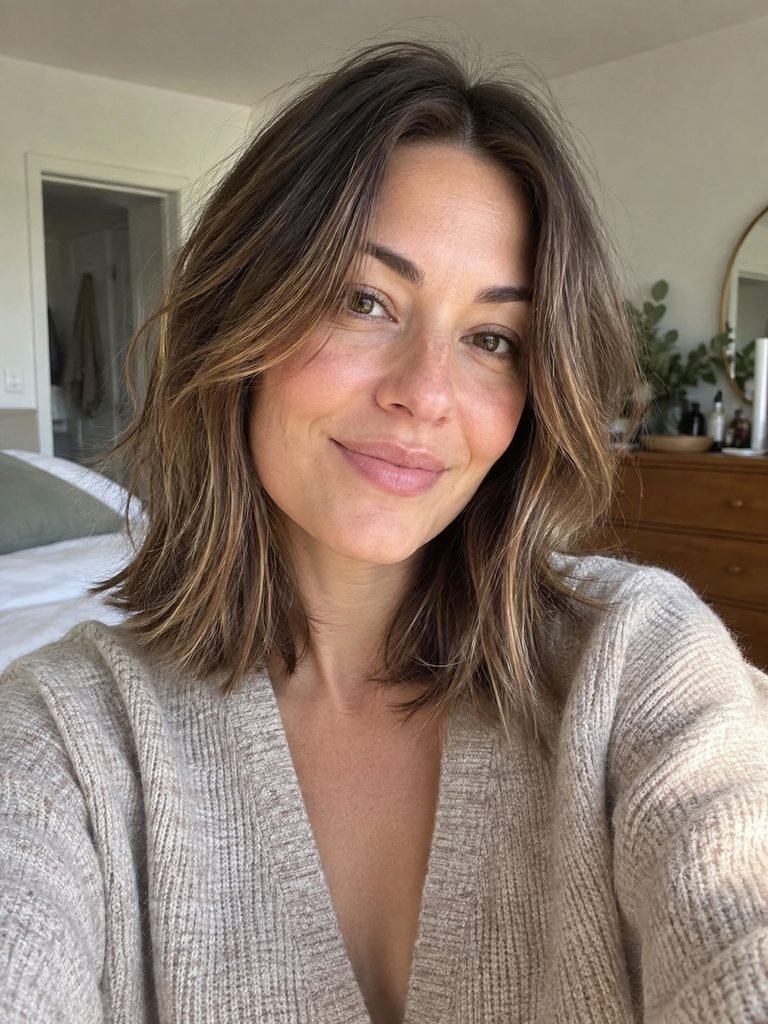
Long grown out framing suits someone who wants the effect to become softer rather than suddenly looking overdue.
Keep the shortest section around the chin or lower and avoid a very steep jump into the remaining length. As the front grows, the transition simply becomes more subtle.
If maximum flexibility matters, this is one of the safer references to bring to a consultation.
Choose by density, texture, and how you actually wear your hair

Use your normal hair as the filter, not the salon finish.
| Your priority | Better starting direction | Watch for |
|---|---|---|
| Fine or lighter perimeter | Narrow face frame with a fuller back | Removing too much hair from the front corners |
| Dense or heavy hair | Longer framing plus internal weight adjustment if needed | Assuming more visible layers are automatically better |
| Natural waves | Soft connected layering | Choosing a shape that only works after smoothing |
| Curls or coils | Decide by finished dry position | Judging the front length only while stretched |
| Frequent ponytails or clips | Chin to collarbone framing | Pieces too short to reach your usual tie back |
| Mostly air dry | Softer transitions suited to natural texture | Choosing a reference dominated by a round brush blowout |
Repeated high heat is also a genuine tradeoff, not just a styling preference. The American Academy of Dermatology advises limiting excessive heat and reducing blow drying frequency when possible. AAD guidance on styling hair without damage
If you are not yet sure which overall medium haircut should sit behind the face frame, Femorias’ guide to choosing a medium hairstyle compares lobs, long layers, shags, face framing, and curl shaped cuts.
What to tell your stylist before the cut
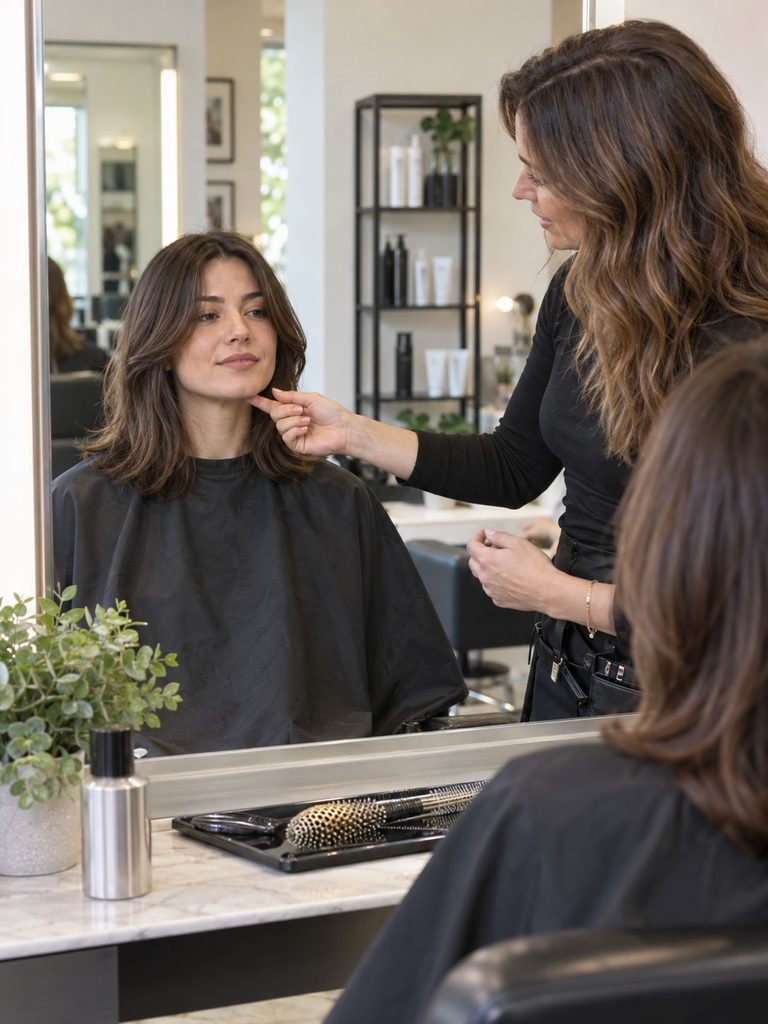
Bring reference photos, but do not make the photo do all the talking.
Professional haircut education from Sam Villa specifically recommends asking where the shortest face framing pieces should fall during the consultation. Sam Villa’s professional face framing tutorial
Before the first section is cut, settle these points:
- “I want the shortest front piece to finish around my chin when my hair is dry.”
- “Keep most of the back full.”
- “I need the front pieces to reach my usual ponytail.”
- “I normally wear a center part.”
- “I usually air dry.”
- “Show me how much hair will become part of the shorter front section.”
- “The part of this reference photo I like is the face frame, not necessarily the blowout.”
You do not need to prescribe cutting angles or professional technique. Describe the result you need to live with.
Questions to settle before your appointment

Are curtain bangs the same as face framing layers?
Not necessarily. Curtain bangs normally create a shorter fringe area, while face framing can begin much lower at the cheek, jaw, chin, or collarbone. The two can blend together, but you can have face framing without bangs.
Can fine hair have face framing layers?
Yes. The more useful question is how much fullness you have available at the front and lower perimeter. If those areas already look light, start with fewer and longer pieces rather than assuming more layers will create more hair.
Can face framing layers work without heat styling?
Yes, when the shape is chosen for your natural texture. Look for inspiration photographed in a finish similar to the way you normally wear your hair. If all your saved examples use a large blowout, ask how the underlying cut will sit after an air dry.
Do I need to choose layers according to my face shape?
No. Face shape can help you think about where you want visual width or emphasis, but it is not a rule. Hair density, texture, parting, styling routine, and the feature you personally want to emphasize can matter more.
How often should face framing layers be trimmed?
There is no useful universal interval. Rebook when the front pieces no longer fall where you want, the blend feels heavy or awkward, or your ends need reshaping. A long subtle frame can grow gracefully for much longer than a short fringe based version.
Can I still wear a ponytail?
Usually, but the shorter the front section, the more likely some pieces are to fall out. Show your stylist where your ponytail or clip normally sits before deciding how short to go.
If you are unsure, make the first change conservative. Keep most of your perimeter, choose a clearly agreed starting point for the front section, and make sure the reference photo resembles your normal texture. You can always take the face frame shorter at a future appointment. Growing it back takes longer.