Patio Layout Ideas by Size: Test What Fits Before You Buy

A patio can hold every piece on your shopping list and still be miserable to use. The real test comes when the back door opens, a dining chair slides out, someone walks toward the yard, and another person is already sitting down.
For most small patios, start with one main job: dining or lounging. Medium patios can handle a fuller seating group, while larger rectangular patios may support two zones. Before buying anything, mark the full furniture footprints on the patio with painter’s tape or chalk, including where movable chairs sit when someone is actually using them. Then walk the route you use most.
That simple test catches more layout problems than staring at an empty slab ever will.
Quick patio layout guide by size
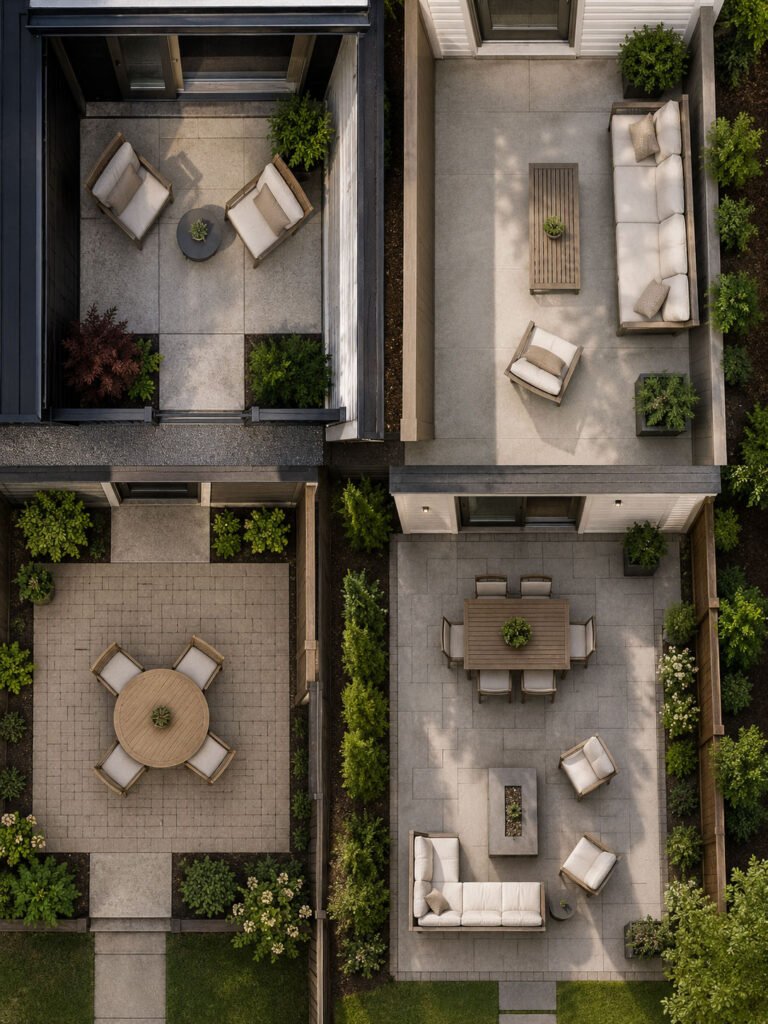
Use patio dimensions as a starting point, not as permission to fill every square foot. Two tables with the same seat count can have very different footprints, and a deep lounge chair can consume considerably more usable space than a slim dining chair.
| Patio size | First arrangement to test | What to be cautious about |
|---|---|---|
| 6×8 ft | Two slim chairs with a small side or bistro table | Four fixed seats, deep lounge chairs, center clutter |
| 8×8 ft | Edge bench plus chair, or compact two-person dining | Furniture on all four sides |
| 8×10 ft | Loveseat and chair, or compact dining set | Trying to create equal dining and lounge areas |
| 10×12 ft | Four-person dining or a complete compact lounge group | Buying both functions before testing them |
| 12×12 ft | Conversation group, small sectional, or dining-first layout | Oversized pieces simply because the patio is square |
| 12×16 ft and up | Primary zone plus a lighter secondary zone | Two full furniture sets that erase the route between them |
Those are layout directions, not furniture standards. Measure the pieces you are considering and work from the manufacturer’s actual width and depth.
A useful rule for every size is to choose the patio’s most important activity first. If you eat outside three evenings a week, the dining area deserves the best portion of the slab. If outdoor meals are rare but coffee, reading and conversation happen constantly, build the plan around comfortable seating instead.
Map the route before you place the furniture
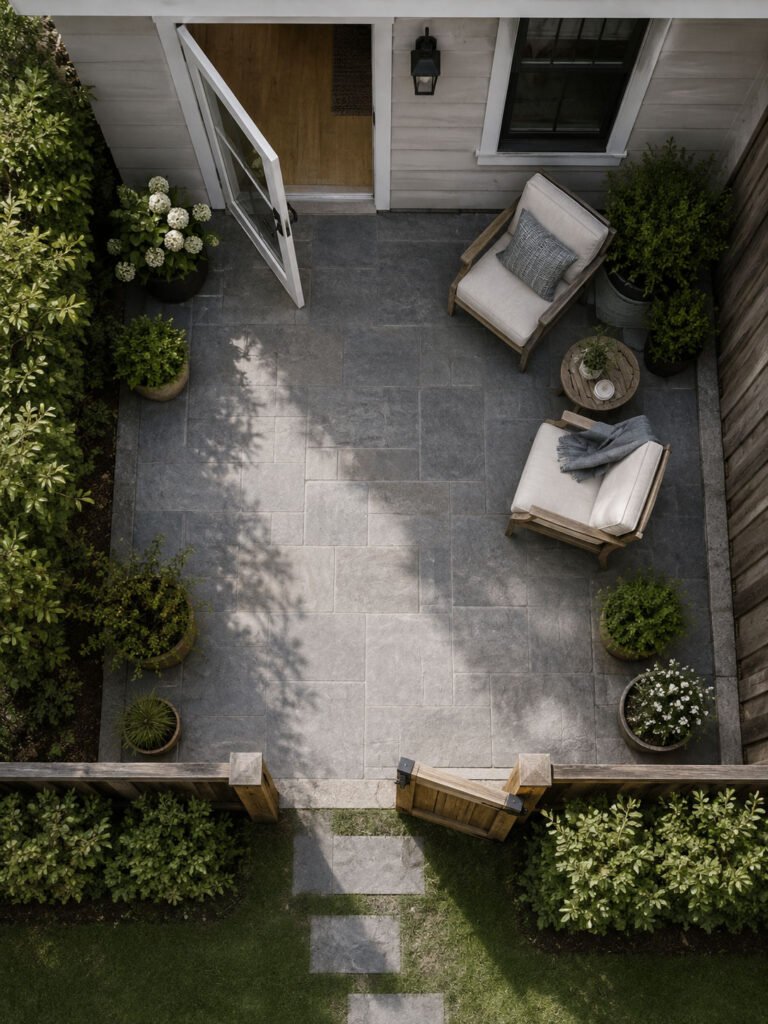
Start with the route that matters most: house to yard, house to grill, kitchen door to dining table, or patio door to steps. Keep that line open before deciding where the sofa goes.
Then mark the door itself. A swinging exterior door needs its working area left clear. A sliding door does not need swing space, but putting a chair immediately in front of its active panel still creates an irritating bottleneck.
Next, mark every piece at its in-use size. A dining chair tucked under a table is not the footprint you care about. Pull it back to the position someone would use to sit down. Do the same with recliners, footstools, chaise sections, storage boxes with lifting lids, and anything else that moves.
If someone in the household uses a wheelchair or another mobility device, circulation deserves more deliberate planning. The U.S. Access Board’s ADA accessibility standards specify a 36-inch minimum clear width for accessible walking surfaces, with limited exceptions. That is an accessibility requirement where the standards apply, not a universal decorating rule for every private patio, but it gives a concrete benchmark when an accessible route is part of your design brief.
Do not sacrifice the route simply to gain one extra chair. A chair nobody can reach comfortably is not useful seating.
6×8 and 8×8 patios: protect the center
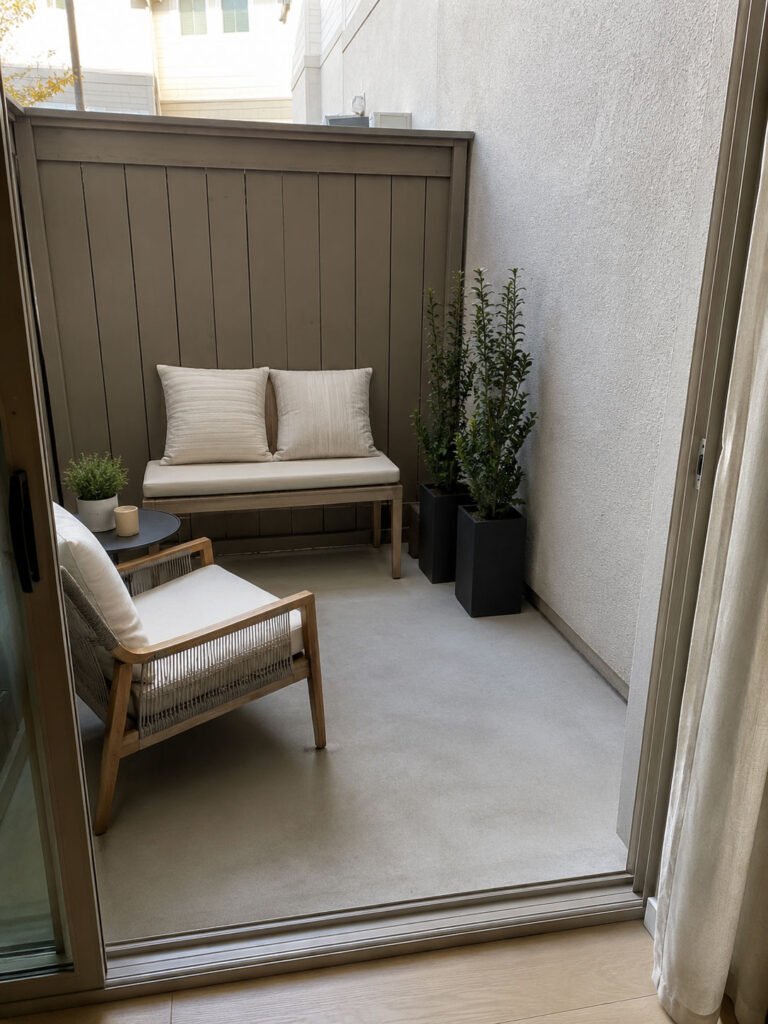
On a 6×8 or 8×8 patio, the center is valuable because nearly every action crosses it. Filling that middle with a coffee table, ottoman and extra planters can make a two-person seating area feel harder to use than it needs to be.
Try one of these arrangements first:
- Two compact chairs with a small side table between them.
- A narrow bench against one edge with one movable chair opposite.
- A folding two-person bistro table if dining matters more than lounging.
An edge bench is especially useful because its footprint does not change when someone sits down. A movable chair opposite it gives you flexibility without committing another entire side of the patio to furniture.
Avoid shopping by seat count. “Four-piece patio set” tells you almost nothing about the floor area the pieces will occupy. A deep armchair plus footstool may demand more room than two slim dining chairs.
On a patio this small, accessories should usually follow the perimeter too. One substantial planter is easier to work around than four little pots scattered around chair legs.
If the layout only functions when every chair is perfectly tucked in, it is already too tight.
8×10 and 10×12 patios: give the space one main job
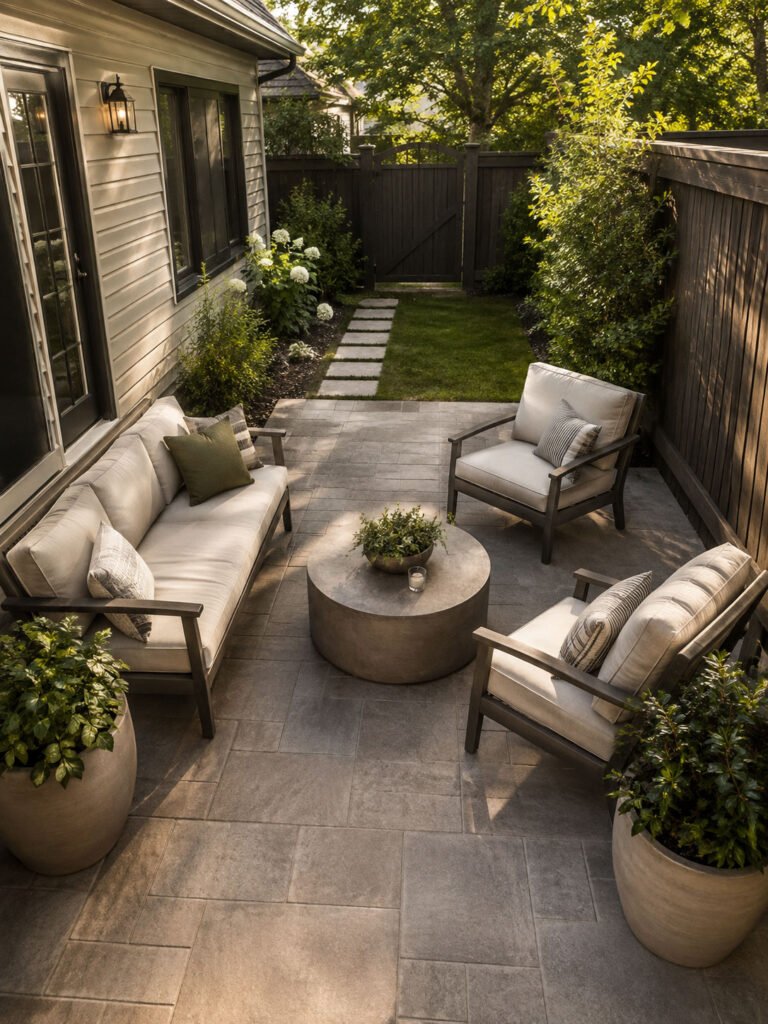
An 8×10 or 10×12 patio creates a tempting problem: it looks large enough to do everything.
Usually, it looks better and works better when it does one thing completely.
For a lounge-first patio, try a loveseat along the longer edge with one or two chairs across from it. Use a small coffee table only if the route around it remains comfortable. If the table becomes something everyone has to sidestep, switch to one or two side tables beside the seats.
For a dining-first patio, center the decision on the table while the chairs are pulled out, not while they are tucked neatly underneath. A round table can simplify circulation when the route clips a corner of the dining area, while a rectangular table may make better use of a long, narrow footprint.
The question is not whether both a dining set and lounge group can physically fit. Ask whether both will still feel complete once they are there.
If squeezing in the second function leaves you with a two-seat “lounge” nobody uses and a dining table that is difficult to walk around, choose one. The patio will feel more intentional, and the pieces you keep can be more comfortable.
12×12 and 12×16 patios: zone only when the route stays clear
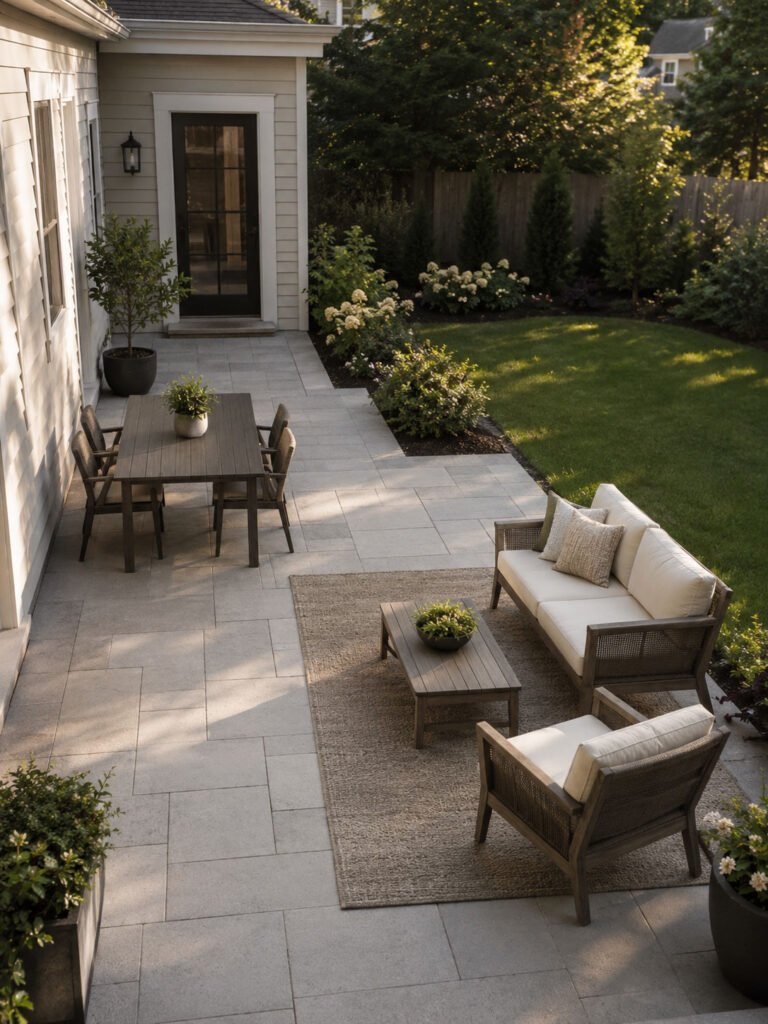
A square 12×12 patio gives you more breathing room, but it does not automatically become two outdoor rooms. A generous conversation group or a dining table with comfortable circulation can be a better use of it than splitting it in half.
A 12×16 rectangle is where a second zone becomes easier to justify. One practical arrangement is dining closer to the house and a lighter lounge group toward the yard. That keeps serving trips shorter while giving the lounge area the view.
The two zones do not need equal furniture.
A four-person dining table plus a pair of lounge chairs can work better than a complete dining set beside a complete outdoor sofa set. Think primary zone plus supporting zone, not two fully furnished rooms competing for the same slab.
Use the route to connect the zones rather than furniture to divide them. An outdoor rug, lighting change or planter at the edge can establish visual separation later. A row of pots through the center merely creates obstacles.
And before declaring the plan finished, add a few imaginary guests. Move one dining chair farther back. Turn a lounge chair slightly. Walk from the house to the yard while someone else is seated. Larger patios fail more subtly than tiny ones because the problem is often a pinch point between two otherwise comfortable zones.
Keep cooking out of the seating route
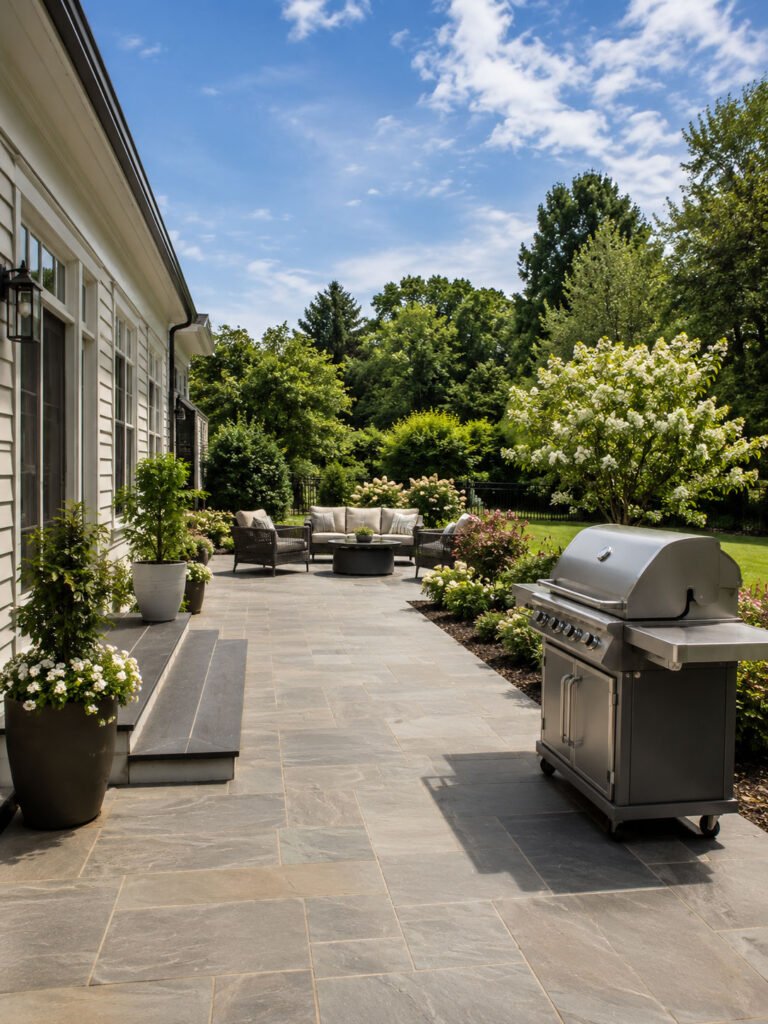
If a grill shares the patio, position it before you finalize the lounge furniture. Cooking creates a working zone that should not double as the shortcut from the door to the chairs.
The U.S. Fire Administration’s outdoor fire-safety guidance says grills should be well away from siding and deck railings, out from under eaves and overhanging branches, and surrounded by a 3-foot safety zone. Follow the grill manufacturer’s instructions as well, since the required setup can vary by appliance.
That means the grill is not a harmless little rectangle you can squeeze behind a dining chair.
Mark its working and safety area when you tape the patio. Then check what happens when someone opens the grill lid and another person tries to pass. If the route sends people through that space to reach the lawn, move either the grill or the route.
On a compact patio, this may force a useful decision: cooking plus dining may be realistic while cooking plus a full lounge group is not. It is better to make that choice on the empty patio than after the sectional arrives.
Add the rug and lighting after the layout works
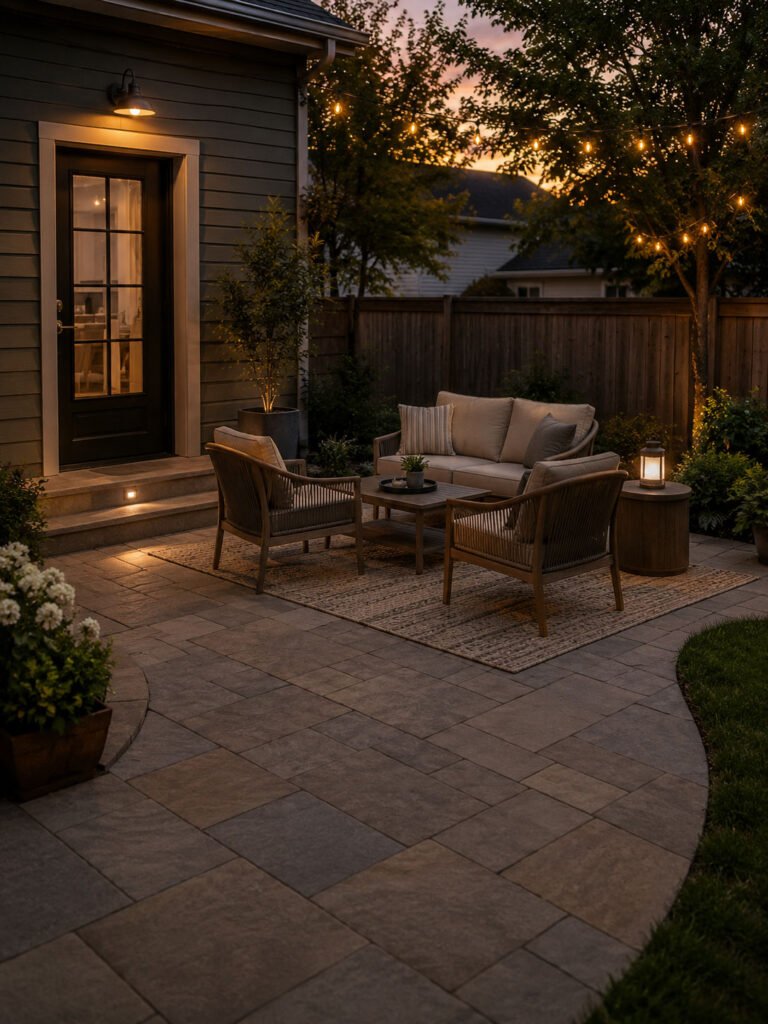
The furniture determines where the rug and lights belong, not the other way around.
For a lounge area, the rug should visually connect the seating without becoming another obstacle in the route. Surface matters too. A rug that behaves well on concrete may create different moisture, backing or maintenance problems on grass or composite decking. Before using one to define a zone, check the Femorias guide to outdoor rugs on grass, concrete or decking.
Lighting works the same way: illuminate where people actually sit, eat and walk. The U.S. Department of Energy’s outdoor-lighting guidance emphasizes reducing unnecessary lighting and uplight and using appropriate light output rather than simply adding more brightness. DOE guidance on responsible outdoor lighting
So once the chairs are in their final positions, identify three things: where people gather, where a task such as eating needs useful light, and where a step or transition needs to be visible.
If the patio has no exterior receptacle, the layout becomes even more important because portable and solar sources have to serve those exact positions. The Femorias guide to patio lighting without an outlet covers solar, rechargeable and temporary-cord options in detail.
Finish the patio in that order: furniture first, route second check, rug third, lighting fourth. Decor is easier once those pieces agree with one another.
Test the layout for 15 minutes before you buy
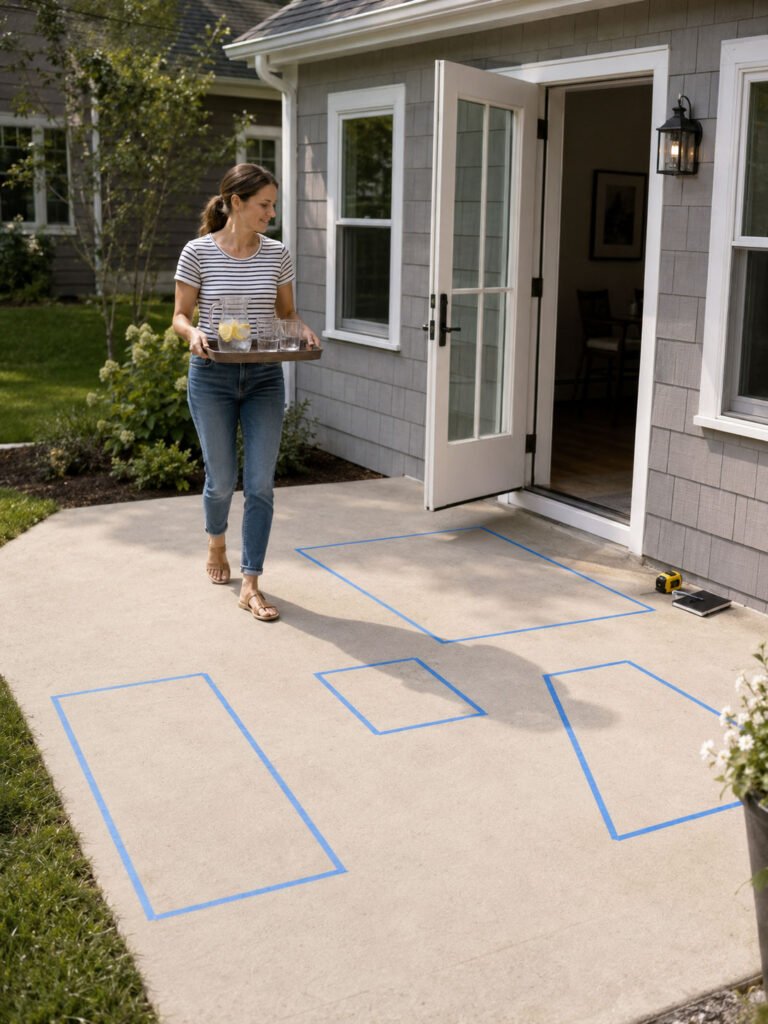
Before ordering furniture, turn the patio into a full-size mock-up.
Use painter’s tape on smooth surfaces or washable chalk where appropriate. Mark the actual dimensions listed for the pieces you are considering. Then move anything that moves: mark the dining chair both tucked in and pulled back, open the exterior door, and include an ottoman or footrest in the position where it will really sit.
Now use the patio for 15 minutes without furniture.
Walk from the house to the yard. Pretend to carry dinner to the table. Stand where someone would pull out a chair. Imagine another person already sitting in the opposite seat. If you use a grill, approach it without cutting through its safety area. If accessibility is part of the household’s needs, test that route specifically rather than assuming an open-looking gap is wide enough.
Then ask three questions:
- Is any piece sitting in the route because there is nowhere else for it to go?
- Does the layout still work after chairs, doors and movable pieces change position?
- Is the secondary function making the primary one worse?
If the answer to the third question is yes, remove the secondary zone first.
That is the useful starting point for almost every patio size. Buy for the space while it is being used, not for the empty rectangle shown on a product page.